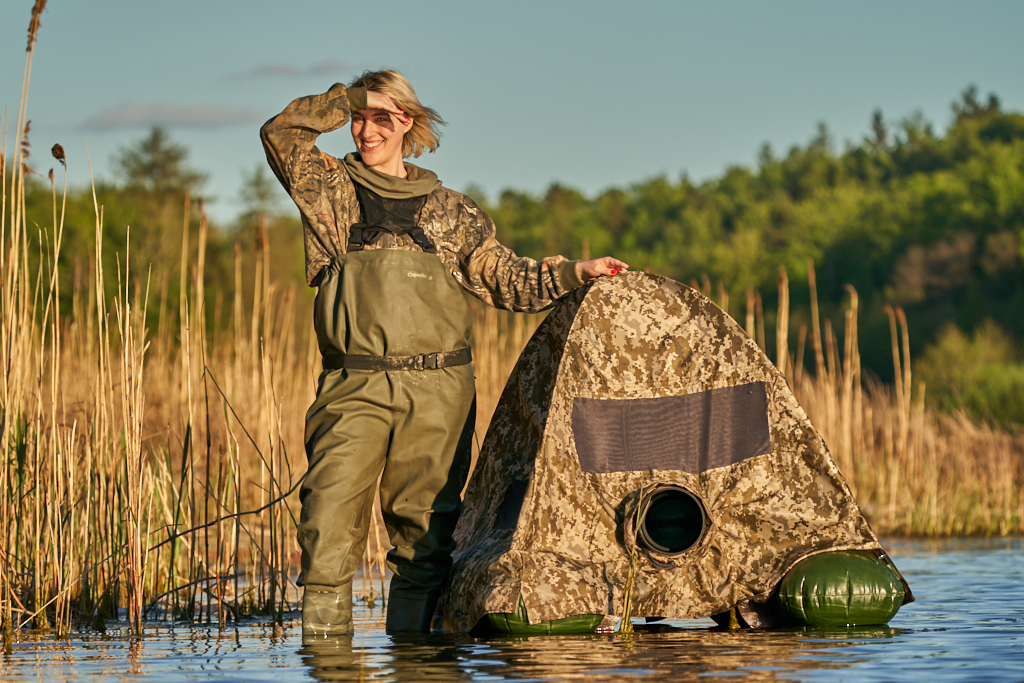
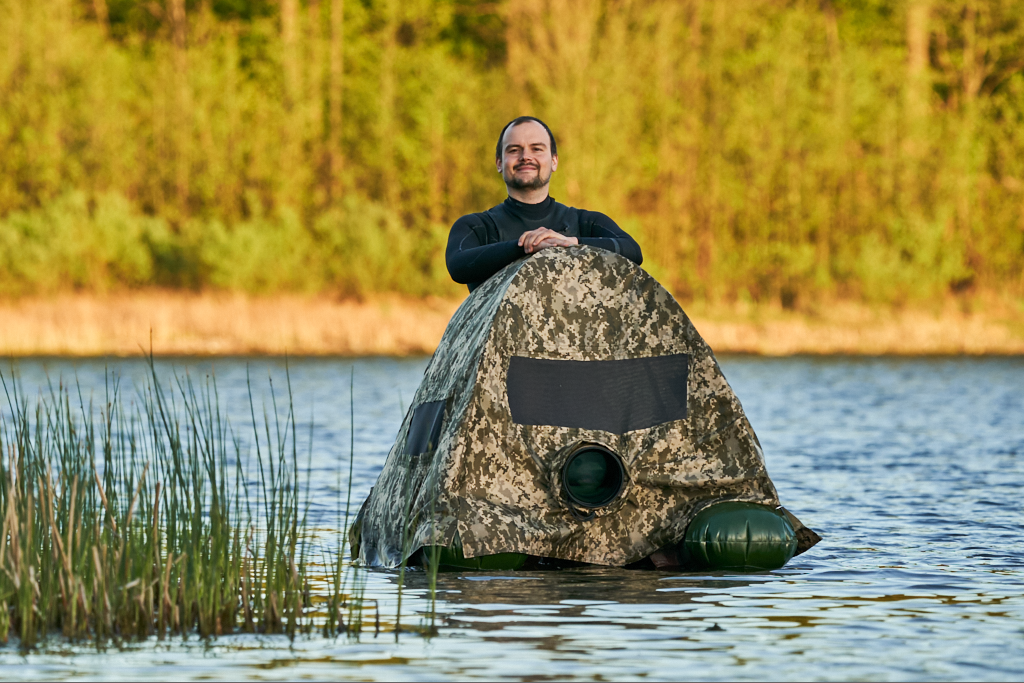
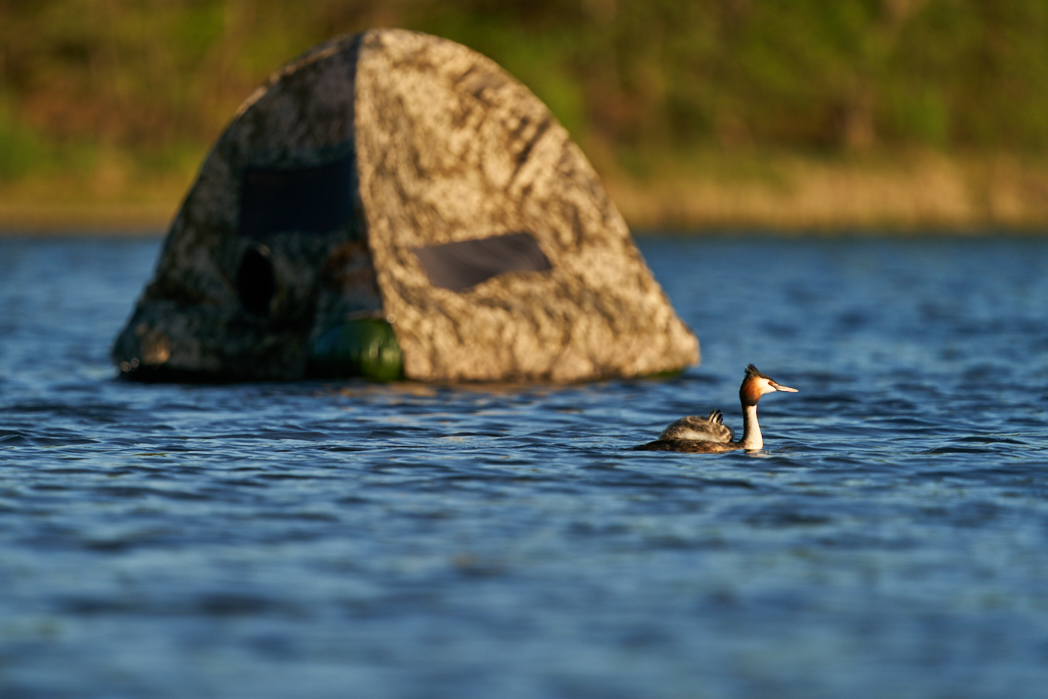
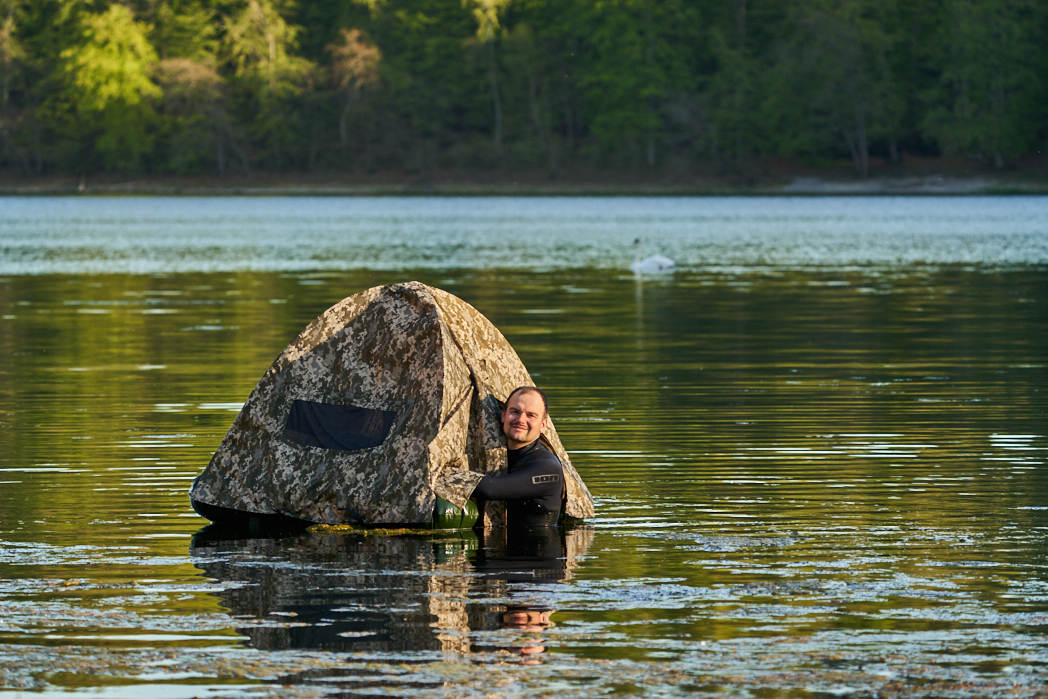
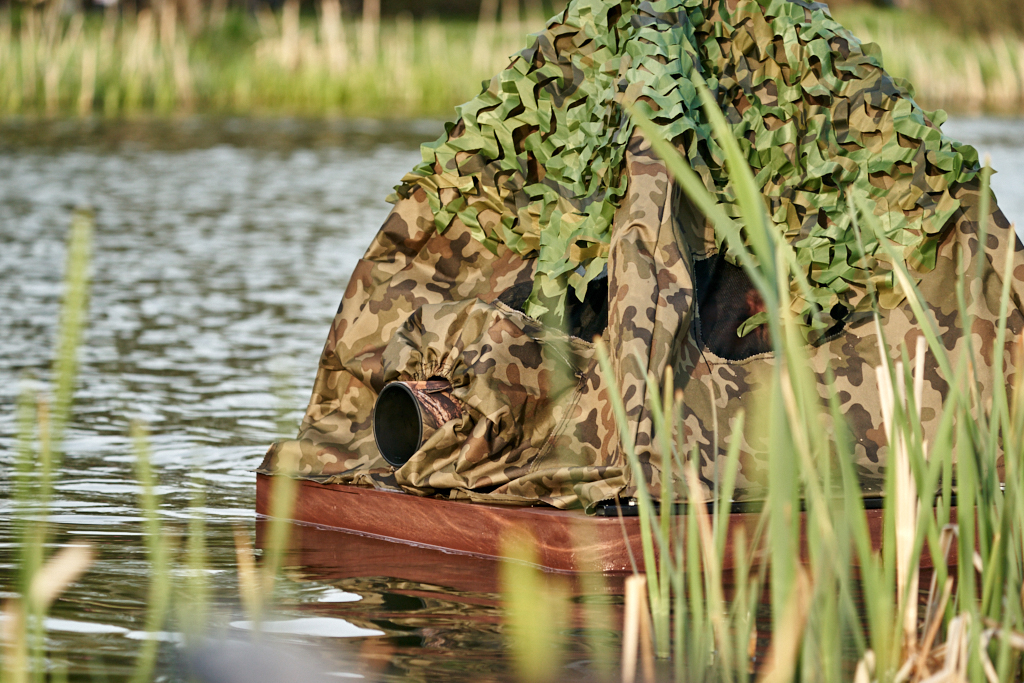
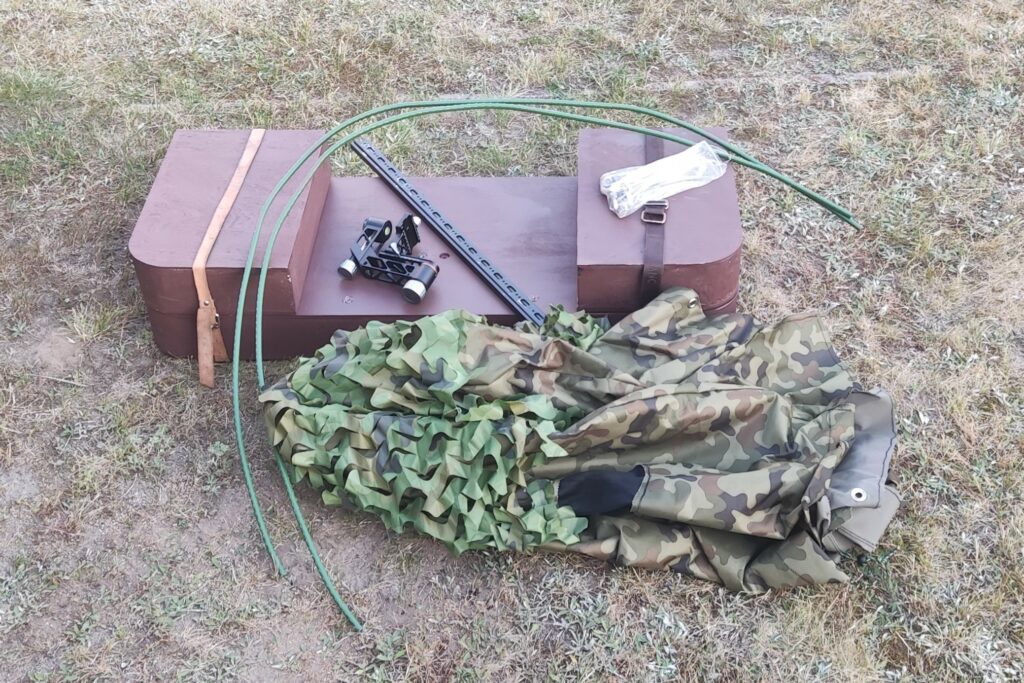
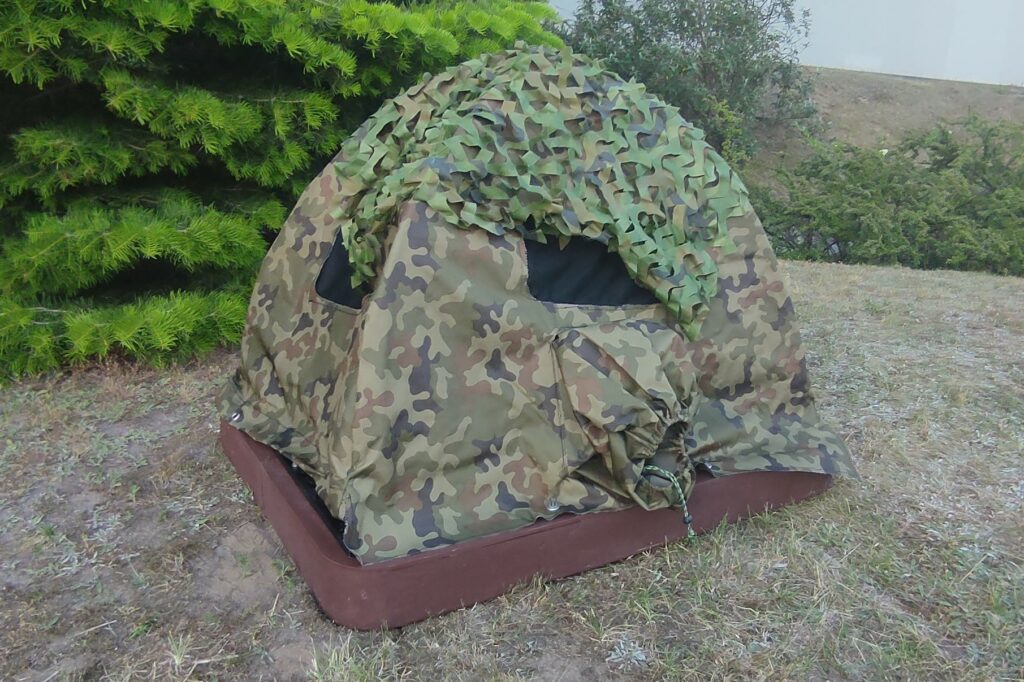
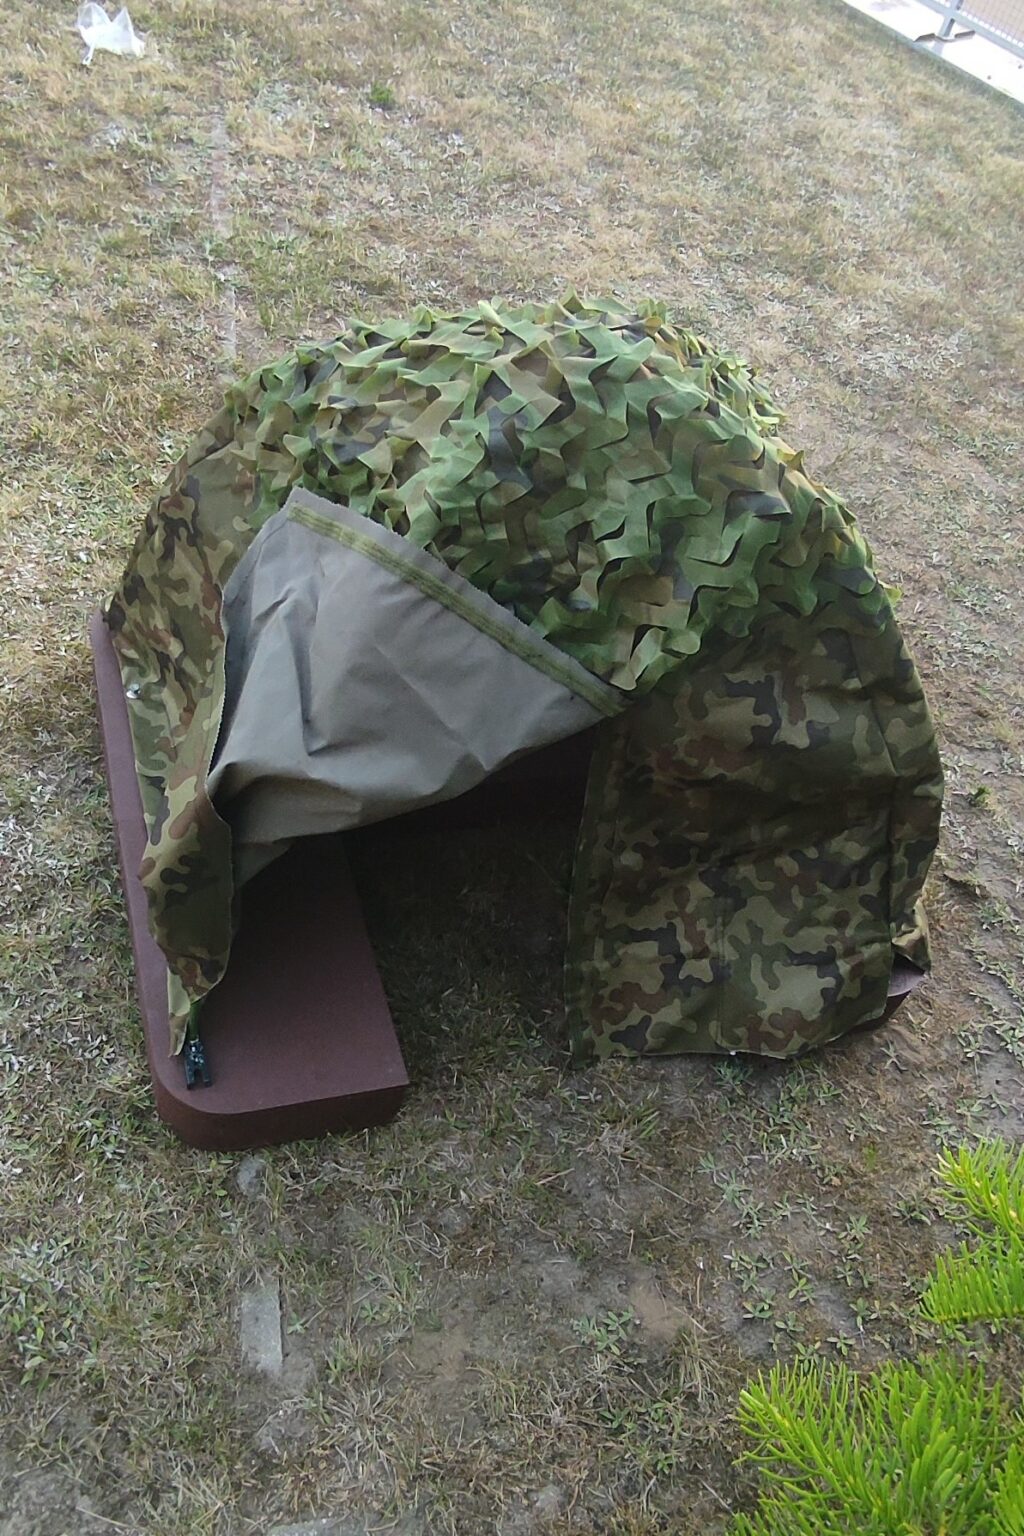
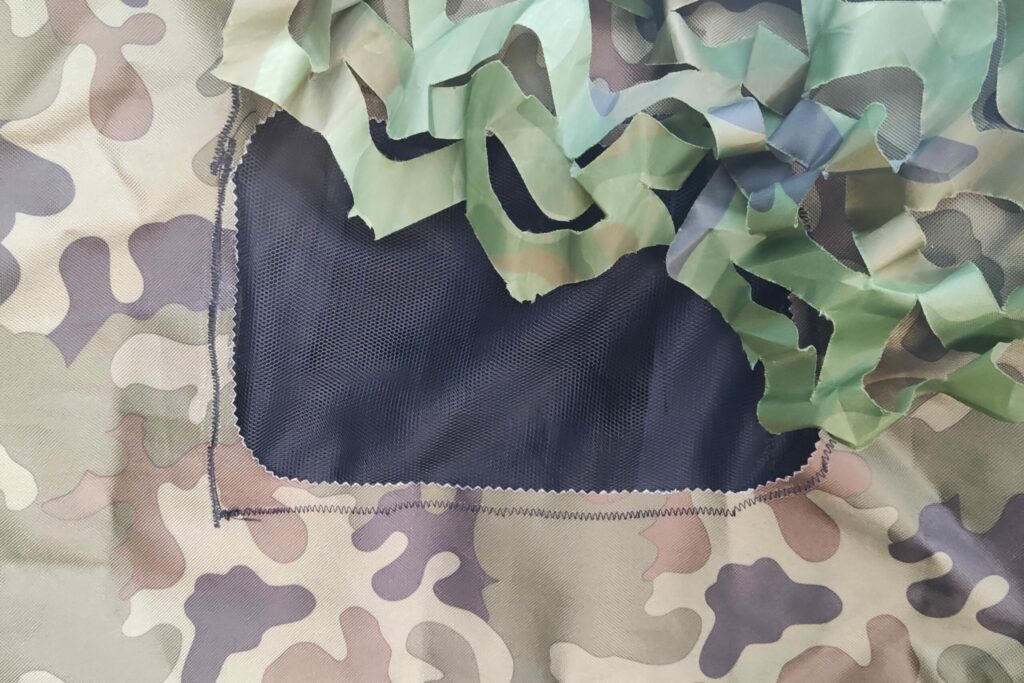
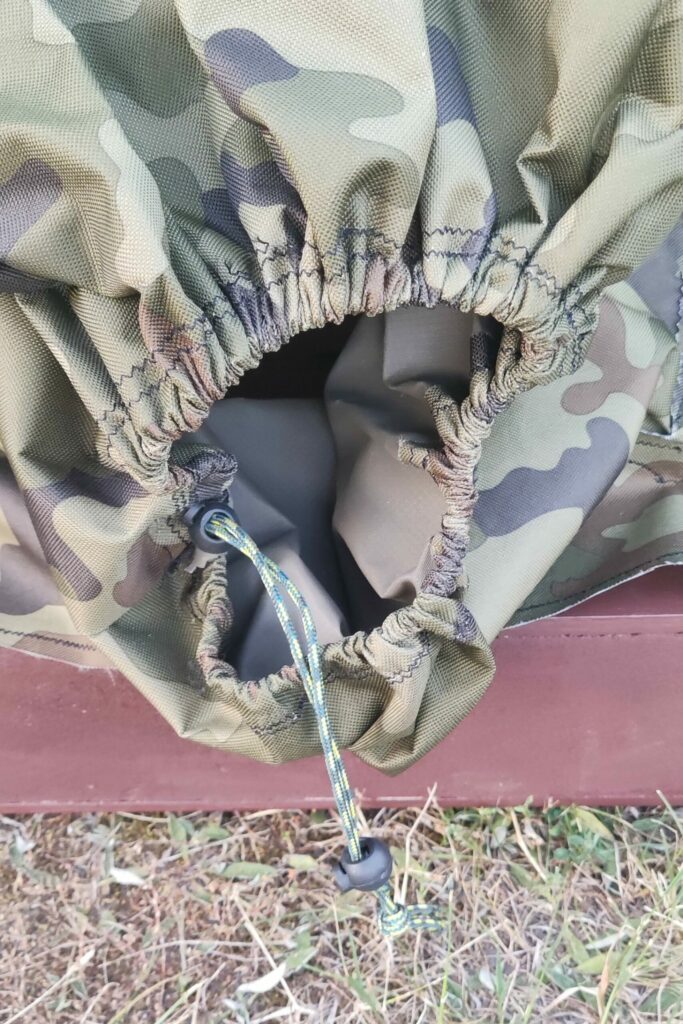
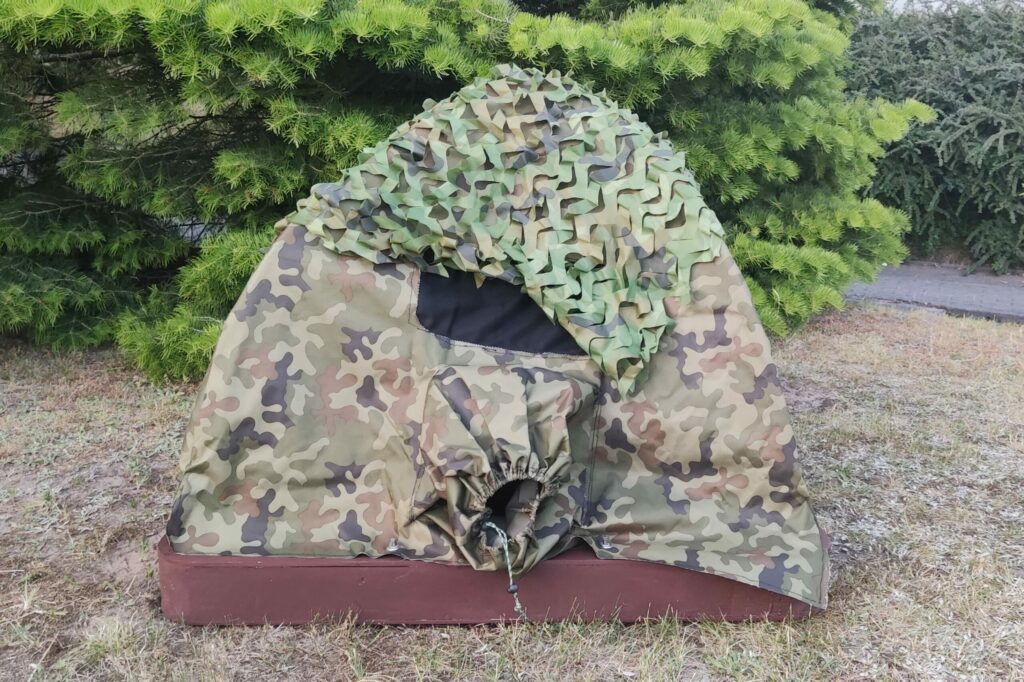
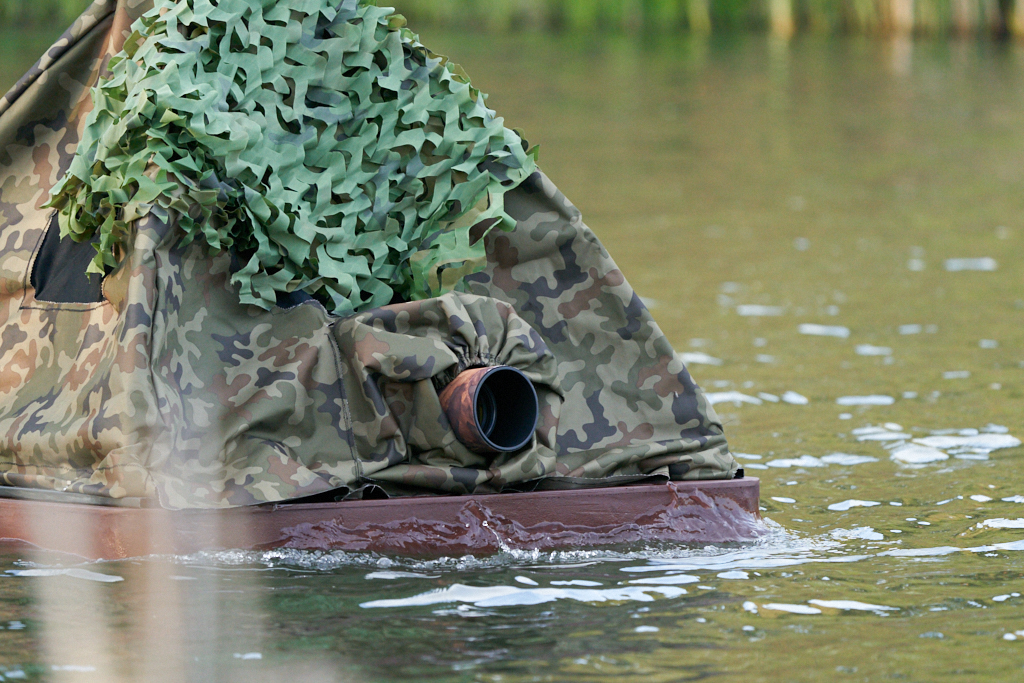
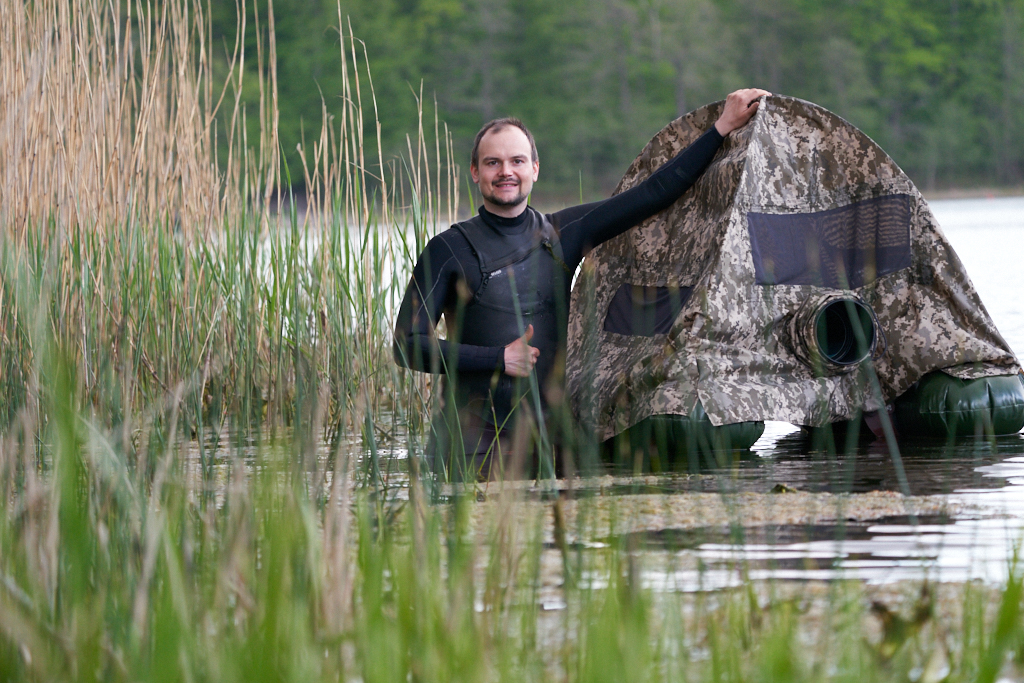
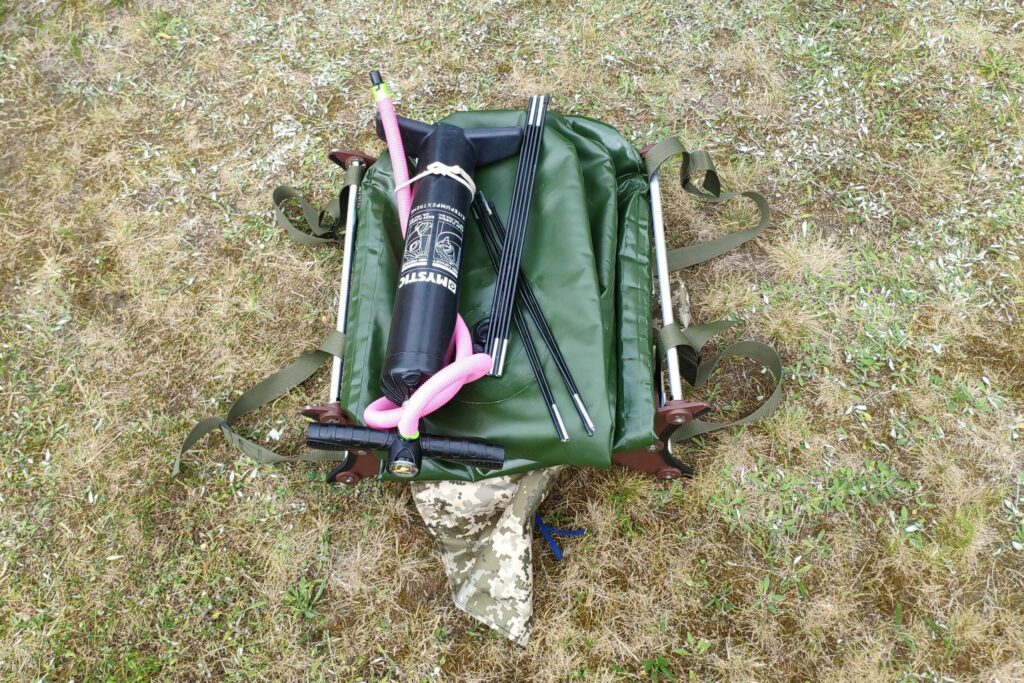
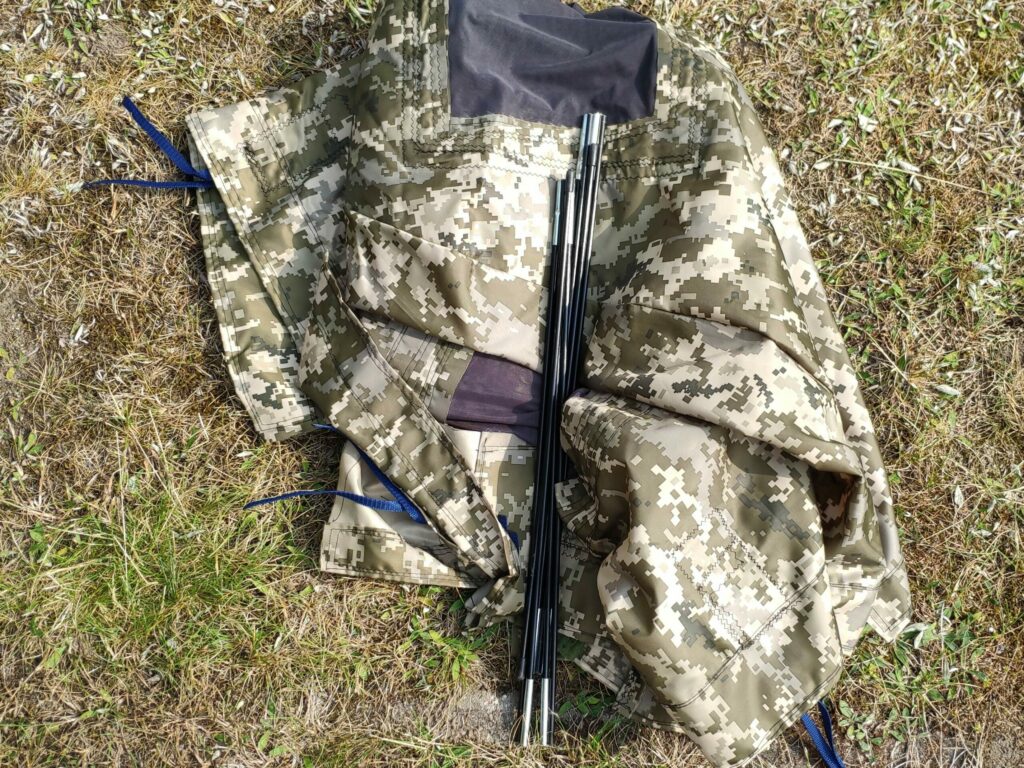
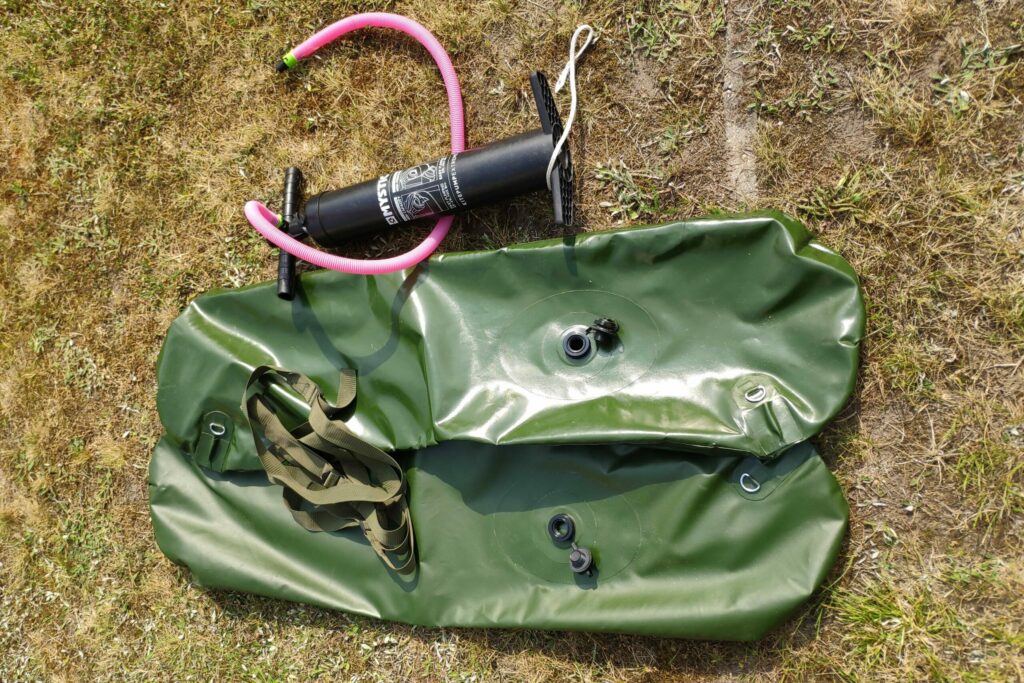
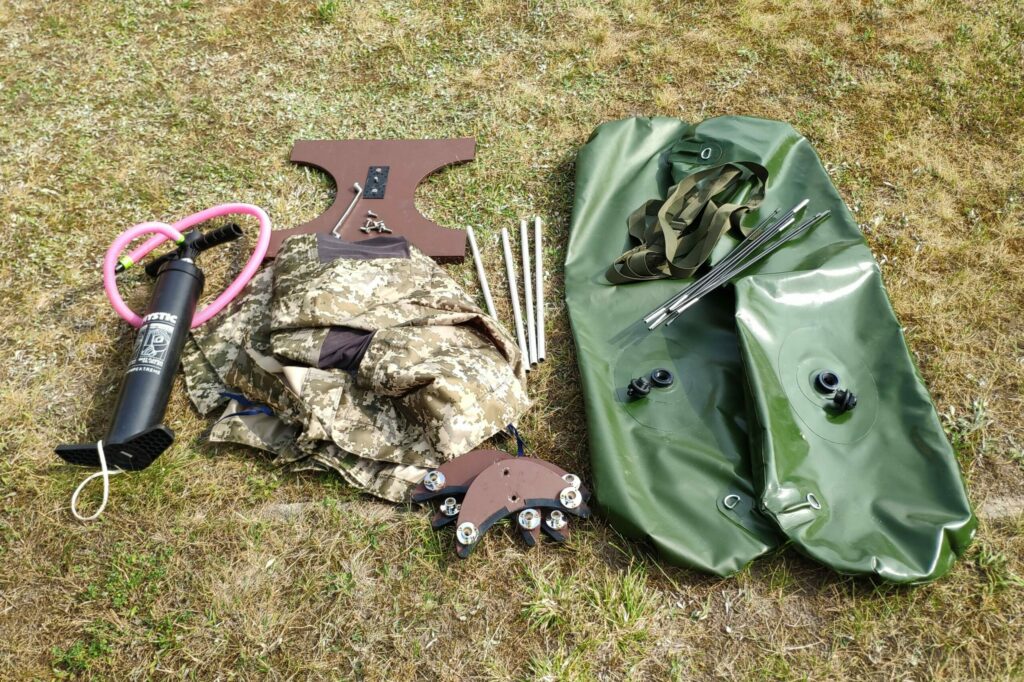
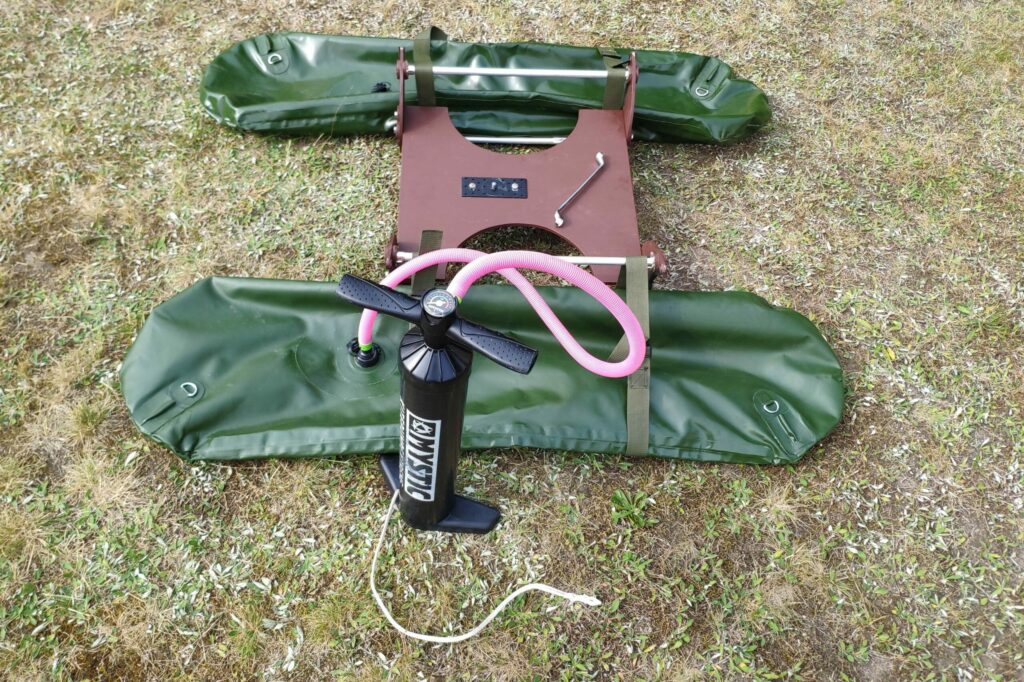
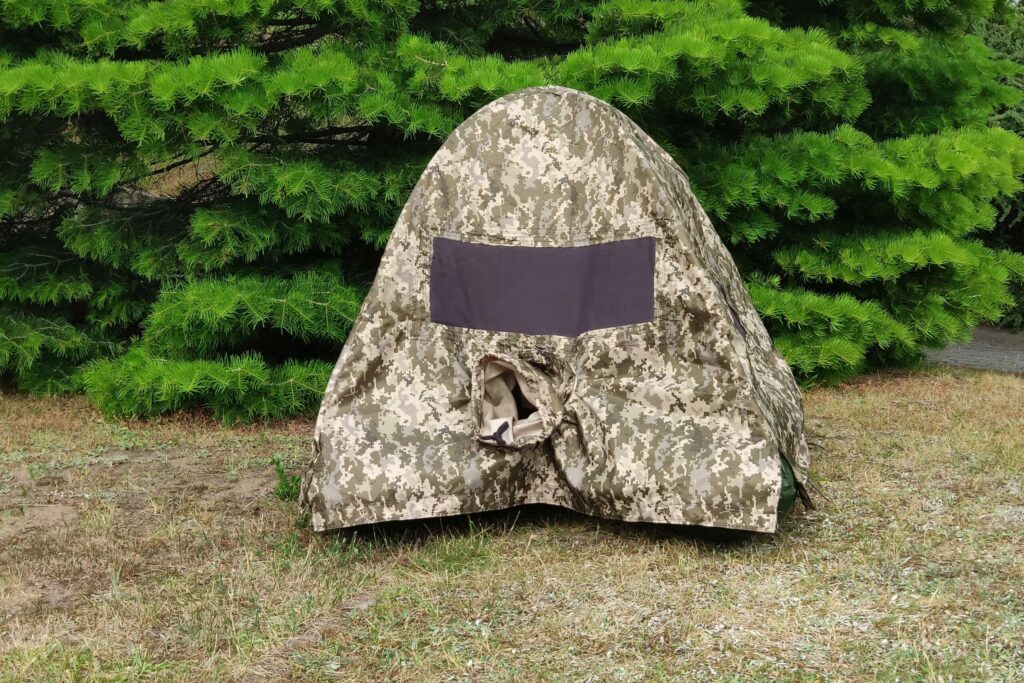
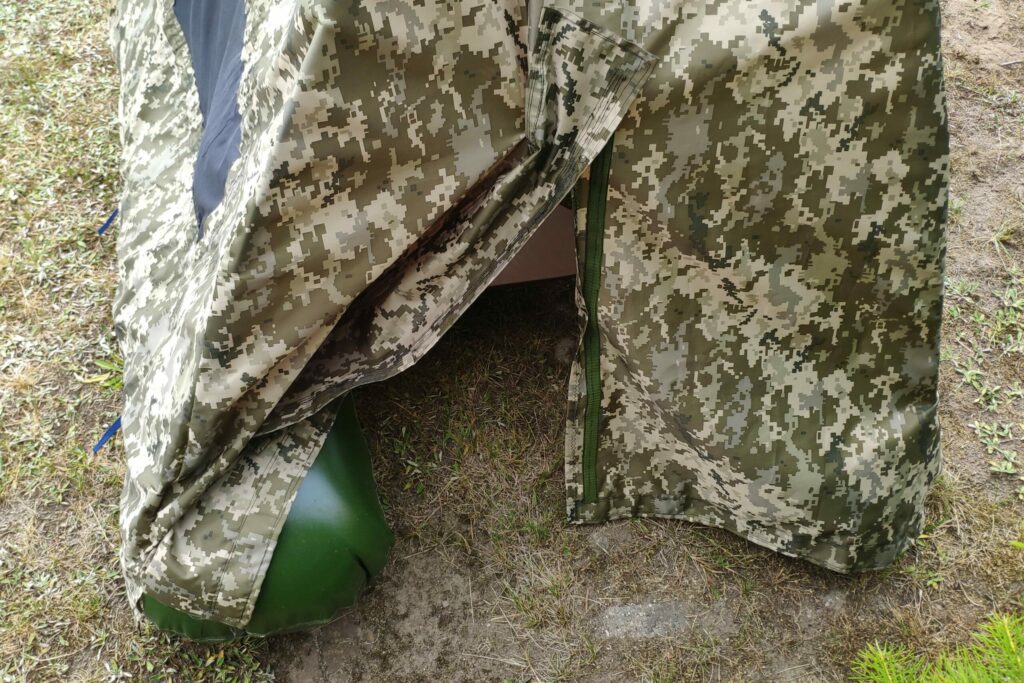
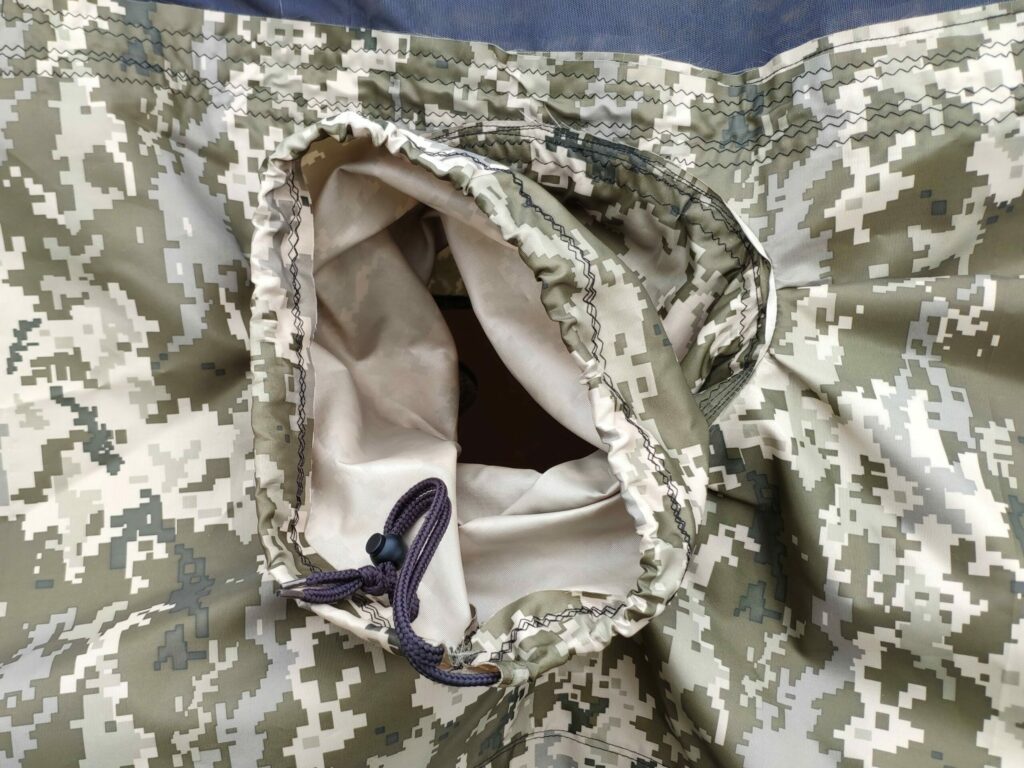
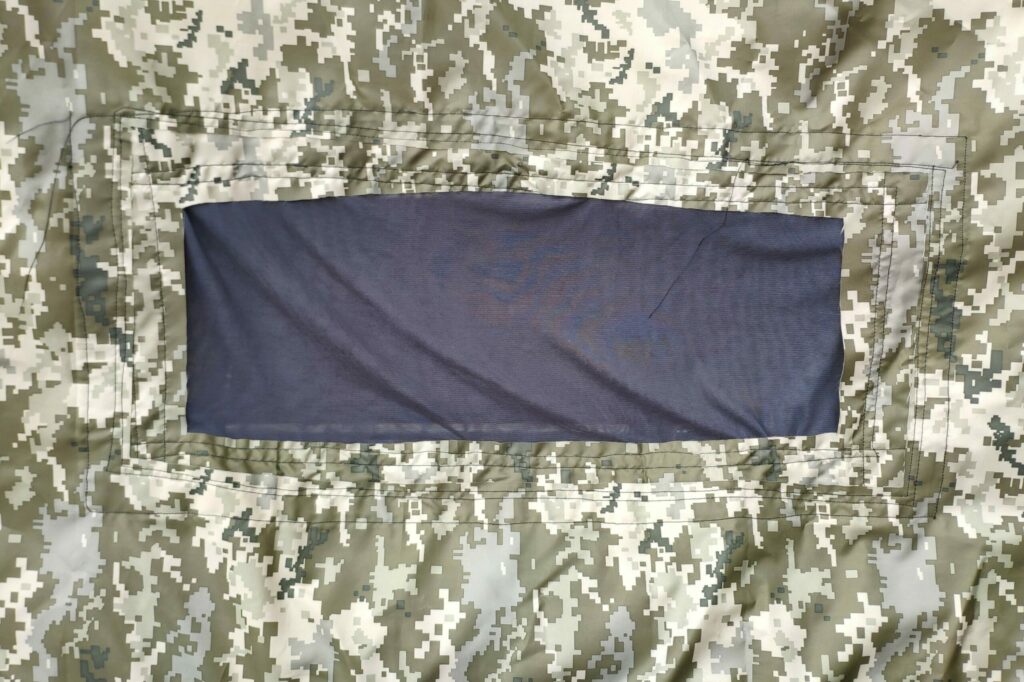
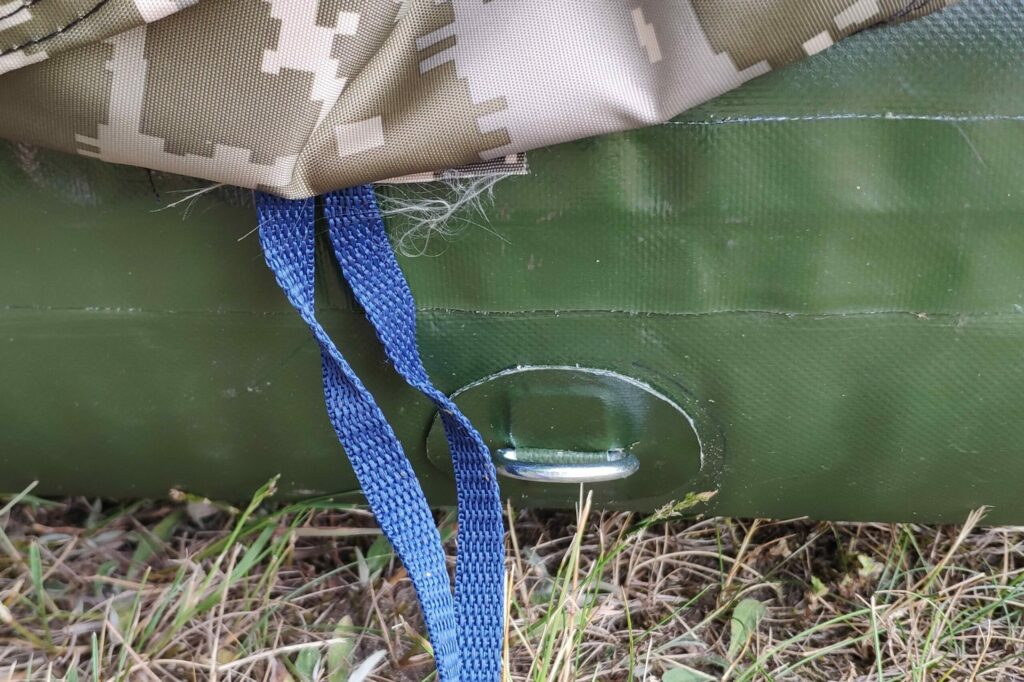
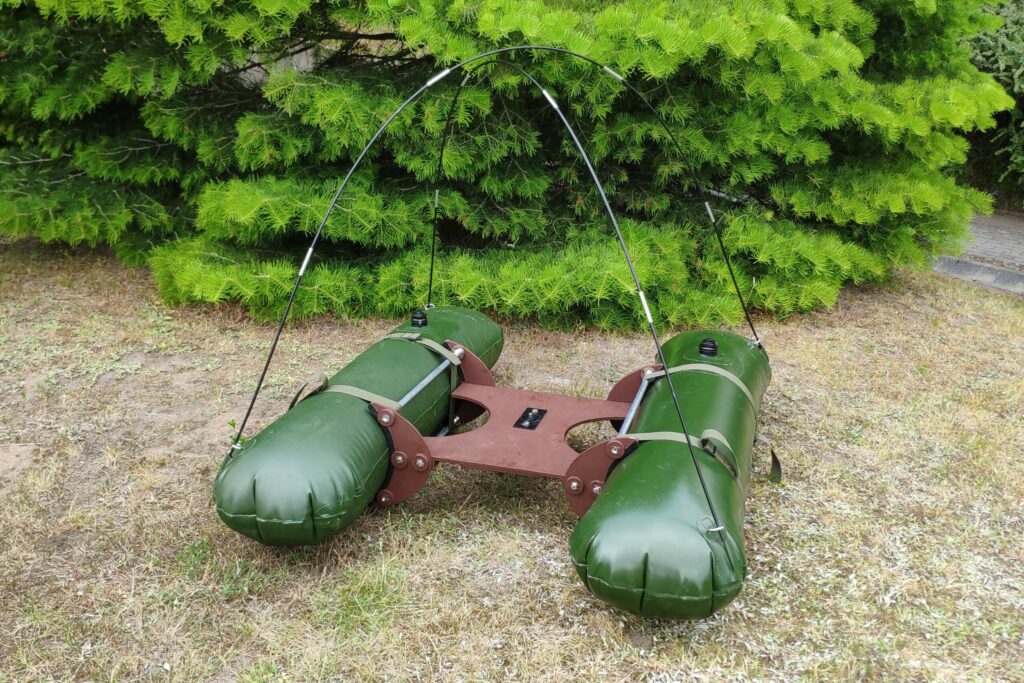
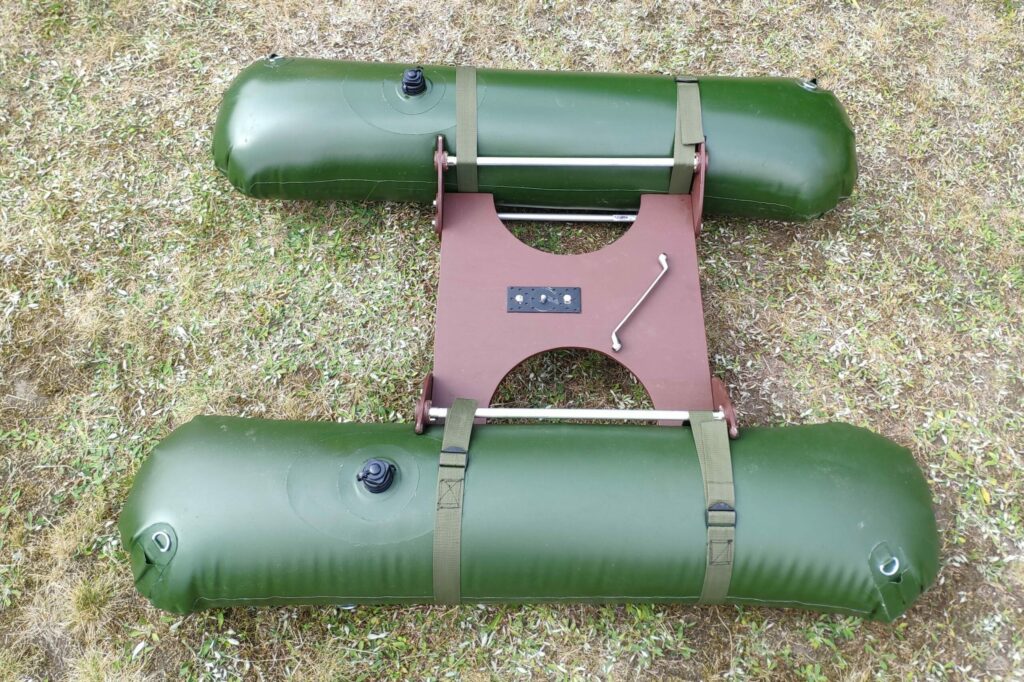
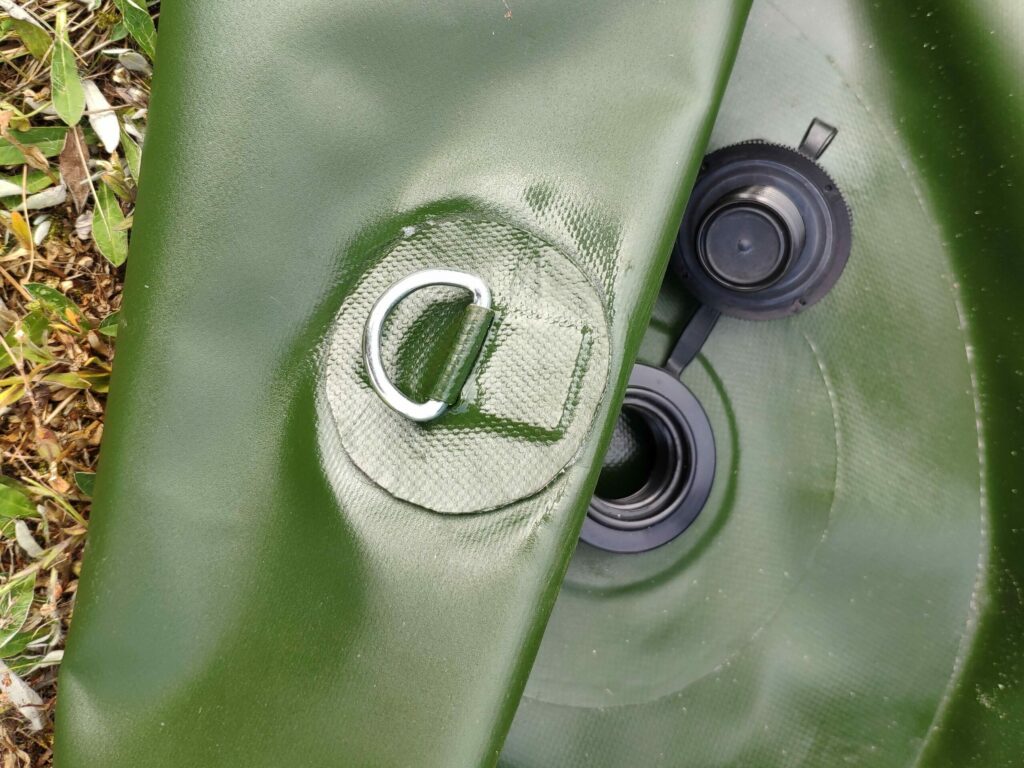
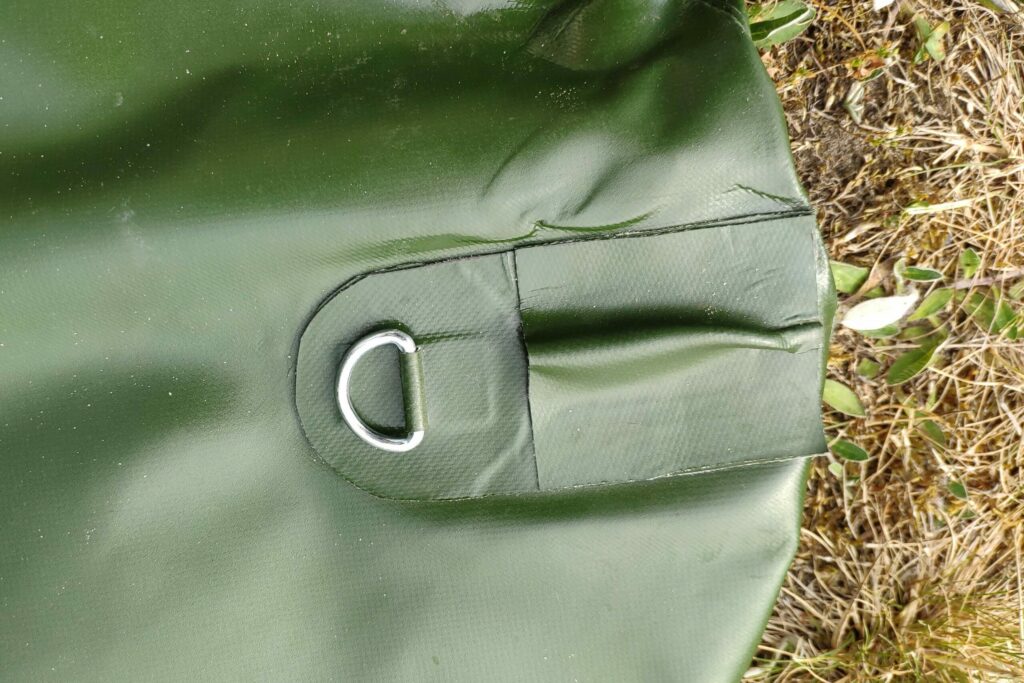
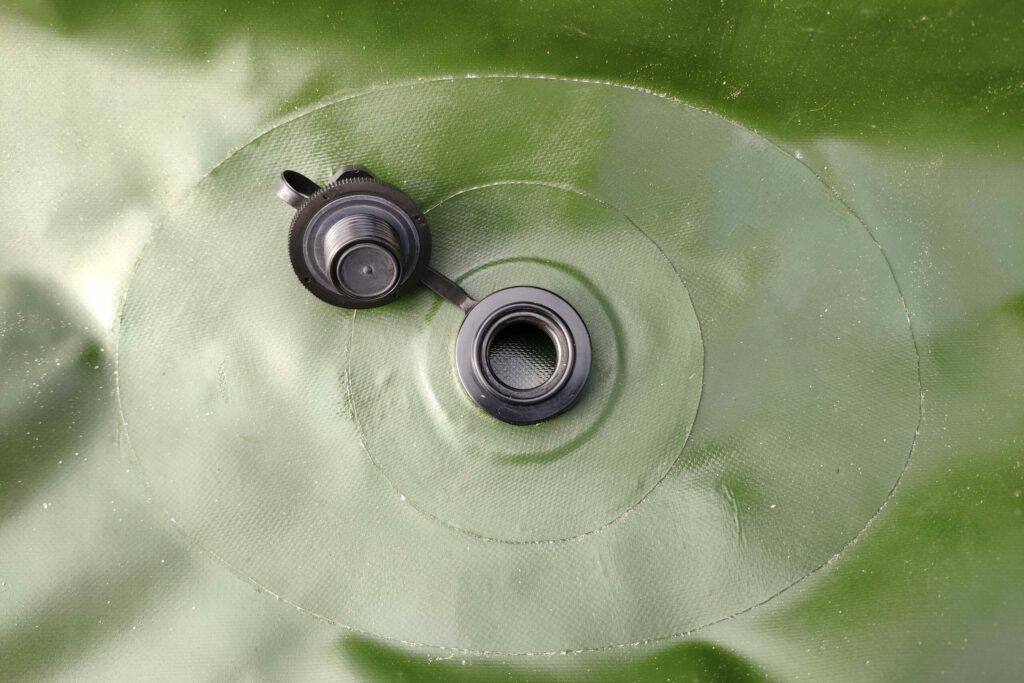
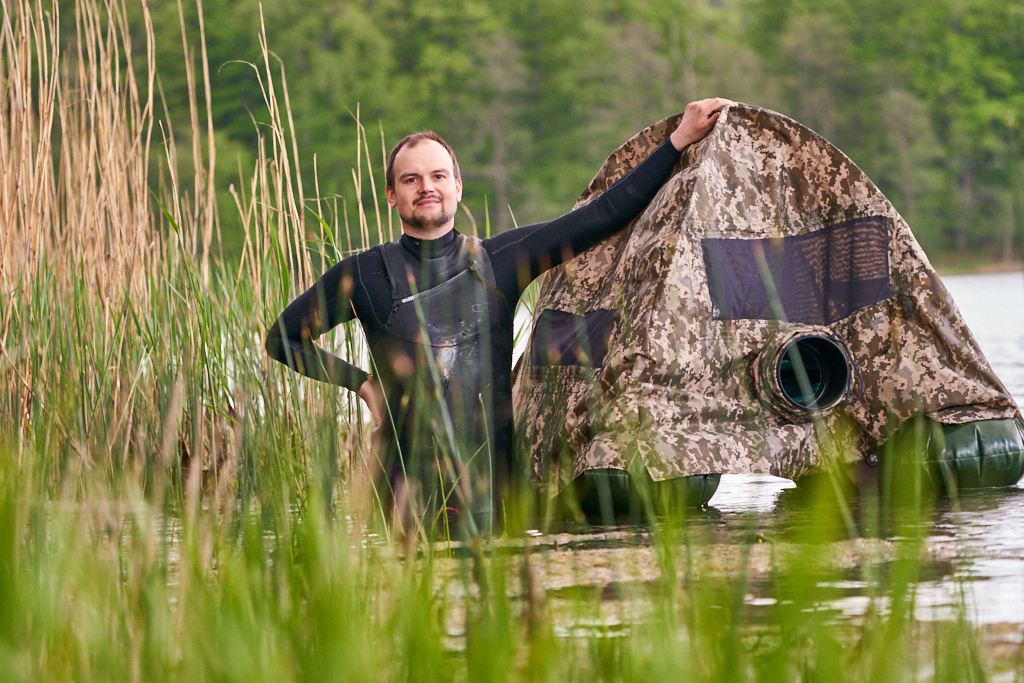
First things first – the floats. I decided to make them of a thick 900 g/m2 reinforced PVC fabric used for crafting boats, pontoons or RIBs. PVC material can be bonded in two ways – you can either weld it or glue it. Welding is of course a better technique. But I lacked the proper professional equipment. Nor I wanted to weld it with hot air gun and try precision of my craftmanship on myself. So, gluing it was. I still needed a hot gun and a roller to glue the whole thing properly and make it 100% airtight. Boston valves were glued into the floaters as well. They are cheap, simple and safe. You can buy them in almost every sailing store. I also made the holders for the tent poles from PVC fabric as well as rings used to securing the tent to the floaters.
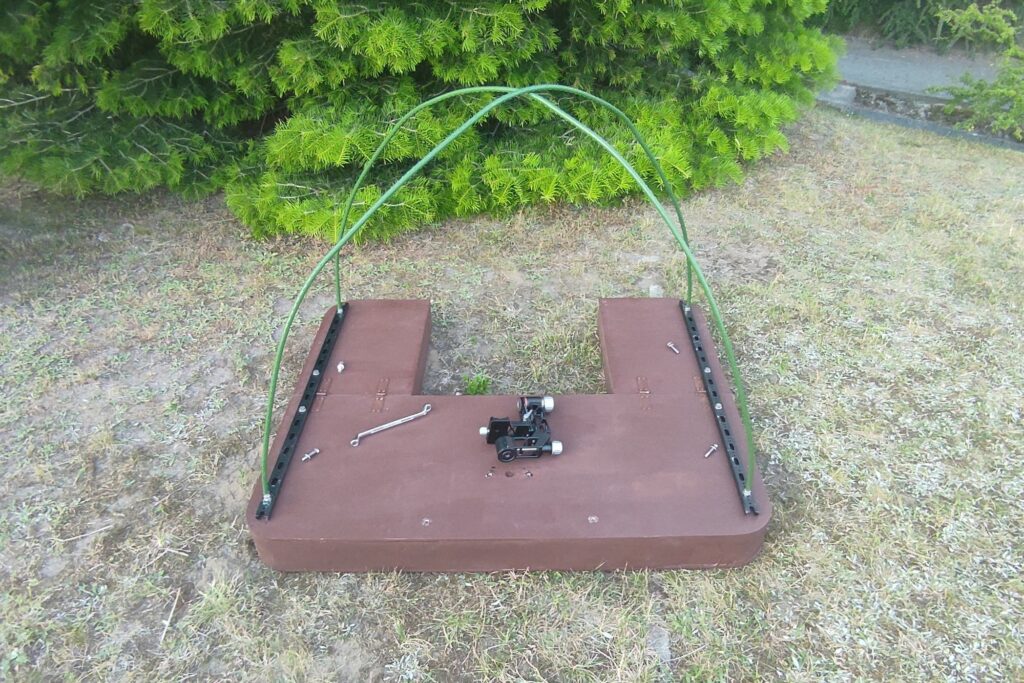
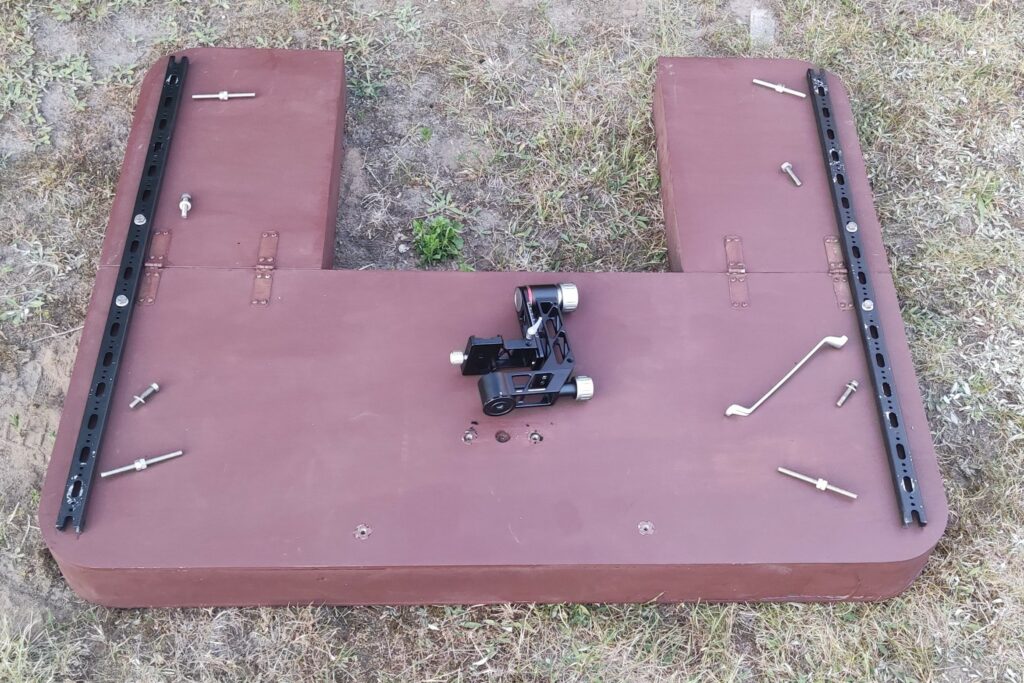
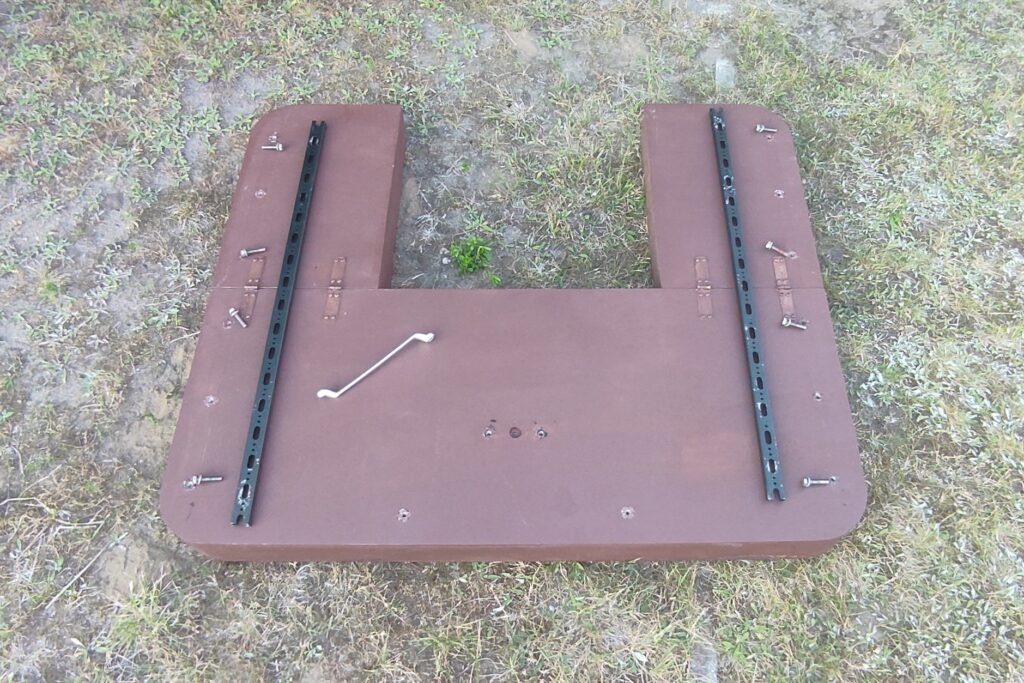
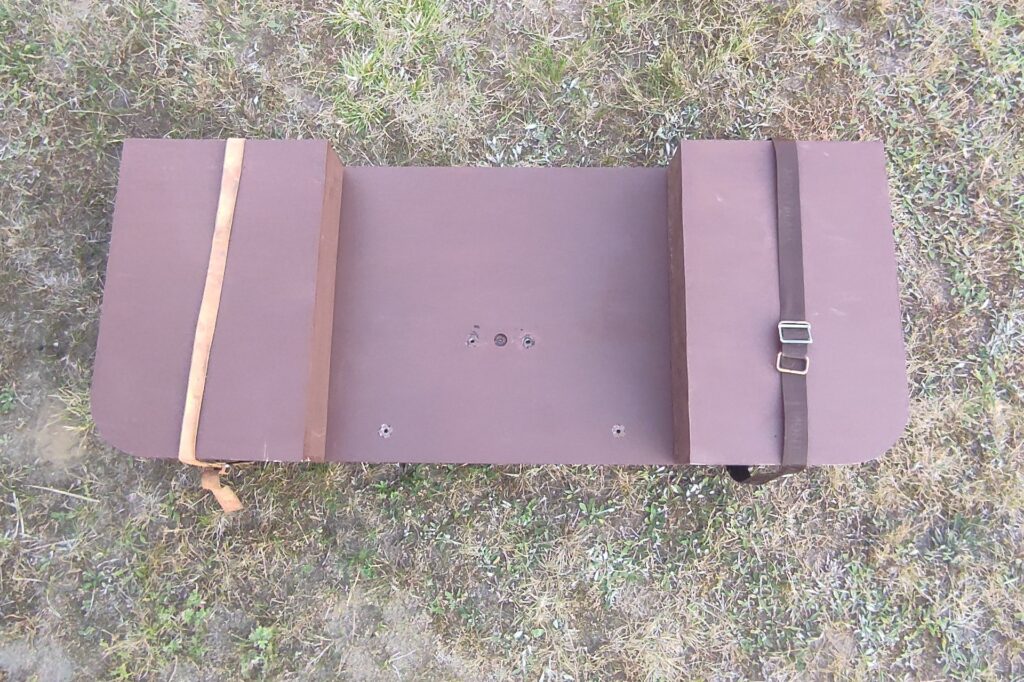
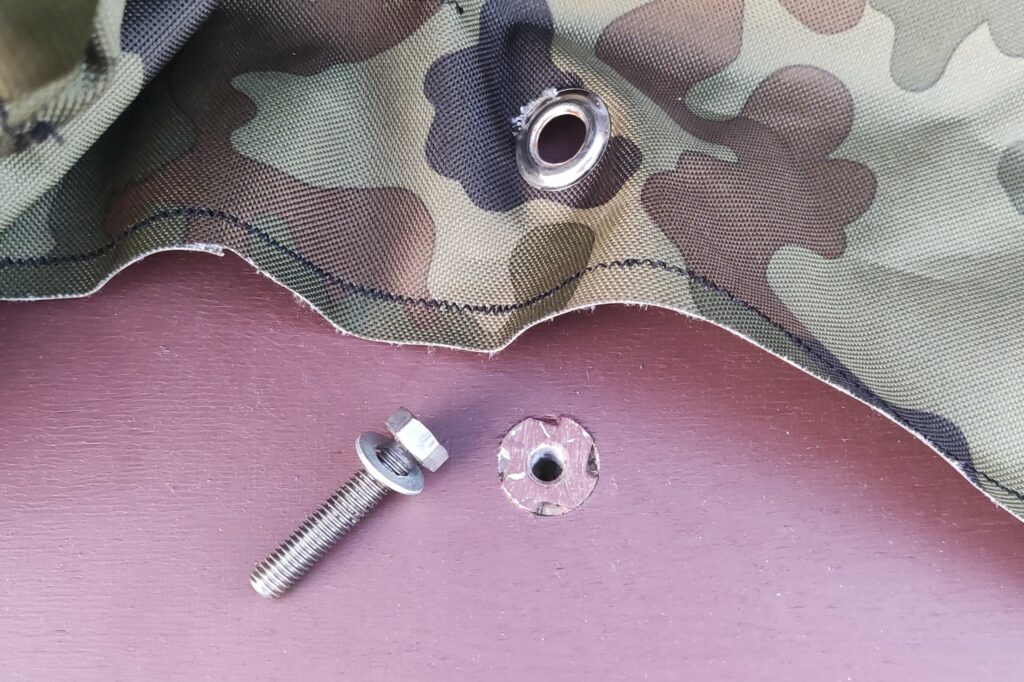
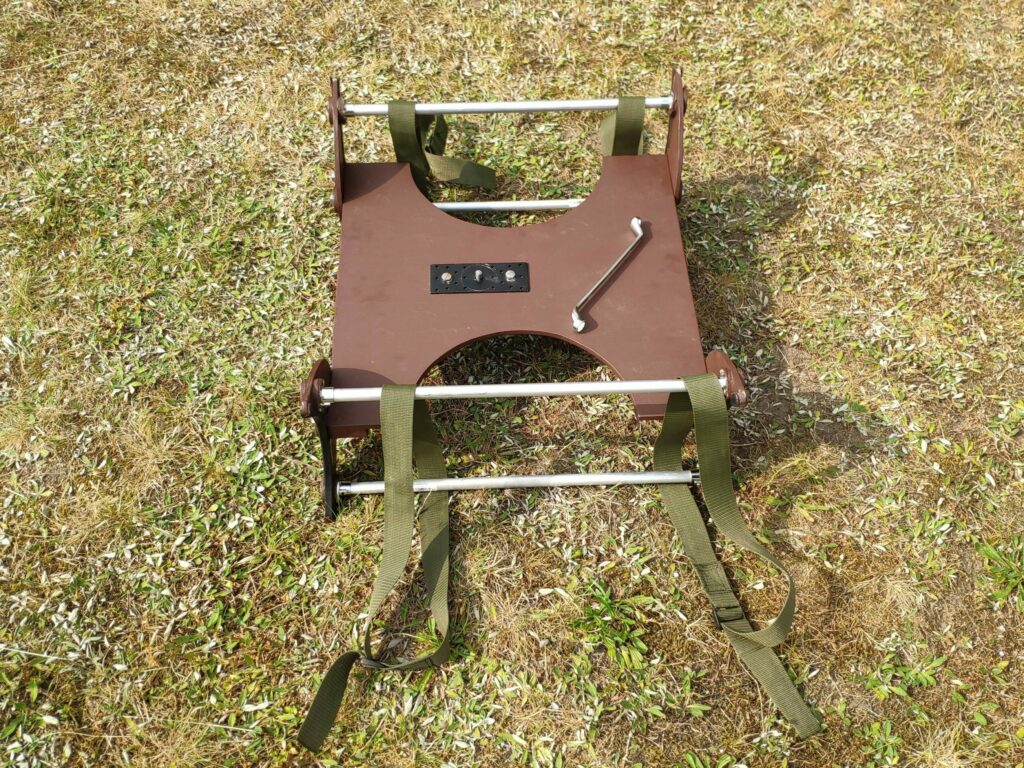
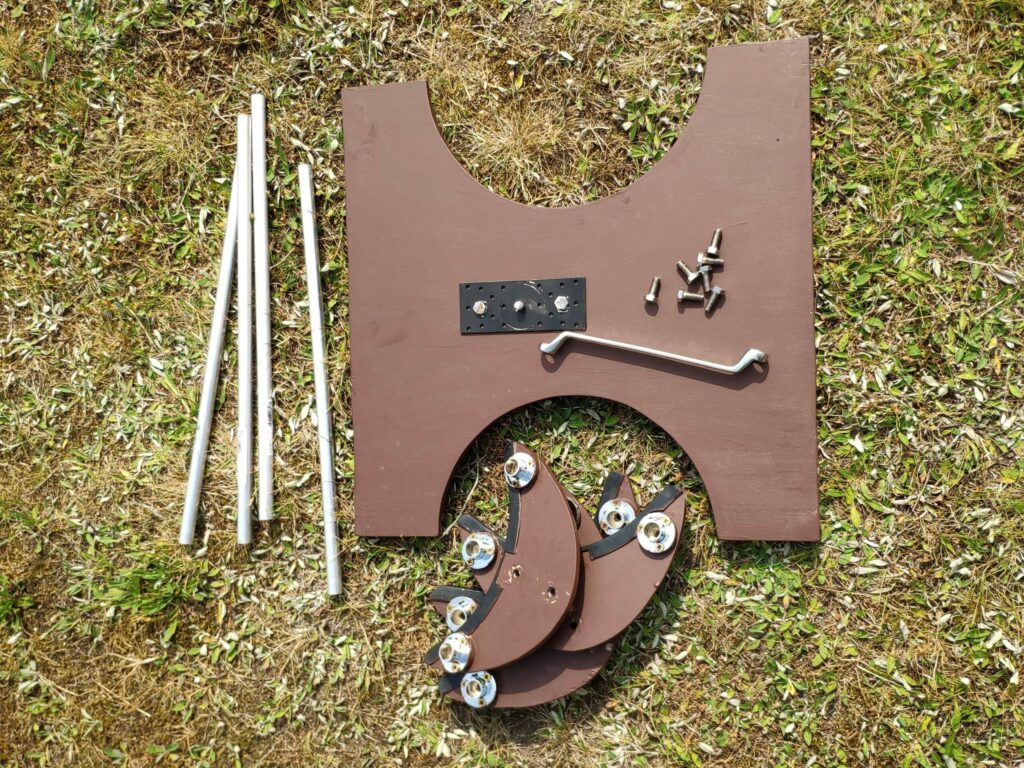
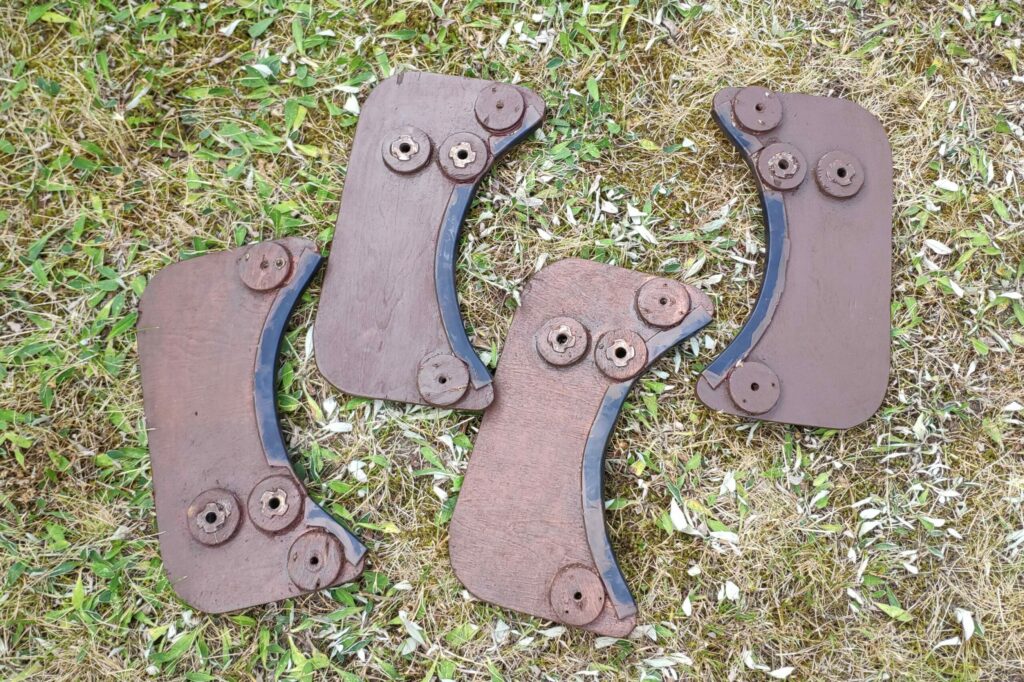
The platform was made of wood because I had some plywood left from the XPS hide project. C shaped beds for floaters were cut. And tightened with screws to the main platform. Of course, the t-nuts were leftovers as well. I had to buy the aluminium pipes and their mounts in the hardware store. I went for the 16 mm ones used for storing/pole systems for wardrobes. With a different set of the C shaped beds, it is possible to change the height of the platform in relation to water. A much welcomed feature! If I did not have leftover plywood, I would make a project of all of the parts and order them from a shop with a CNC mill.