A guide to making your very own floating hide

Do it yourself – a floating hide. A guide to making your very own floating hide… and how not to die while taking pictures.

This is a living article. I will update it from time to time. Be sure to check it more or less often if you are interested in news!

This is why we do it!
To get that intimate eye contact and low viewing angle.
This is why we do it!
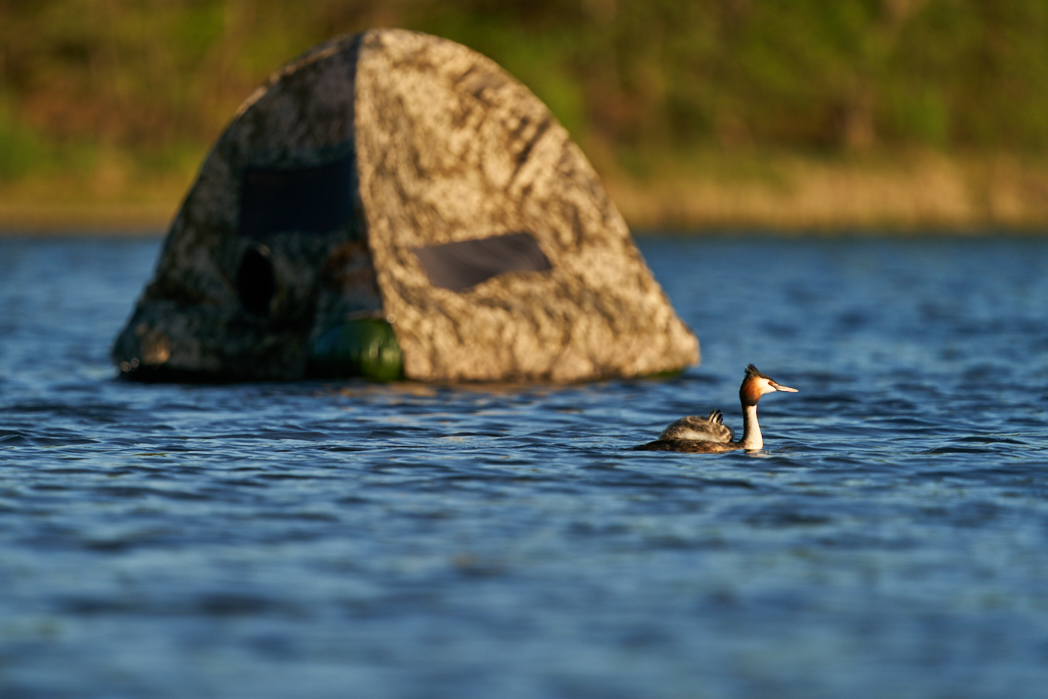
To get close to the subject.
This is why we do it!
To be unseen and observe behaviour of undisturbed animals.
Previous
Next

We all want to get to the wildlife as close as it’s possible. Hides are probably the best way to do it in the least invasive way. Of course, your blind is pretty much stationary and you have to lure animals to come to you. But what if you want to shoot waterfowl? Luring them to shore seems often impossible and yet it does not guarantee short distance shots. Shooting from kayak or a boat might easily scare animals away and getting those low perspective shots is almost impossible or too risky if you decide to hang down from the broadside. A floating hide comes to the rescue!

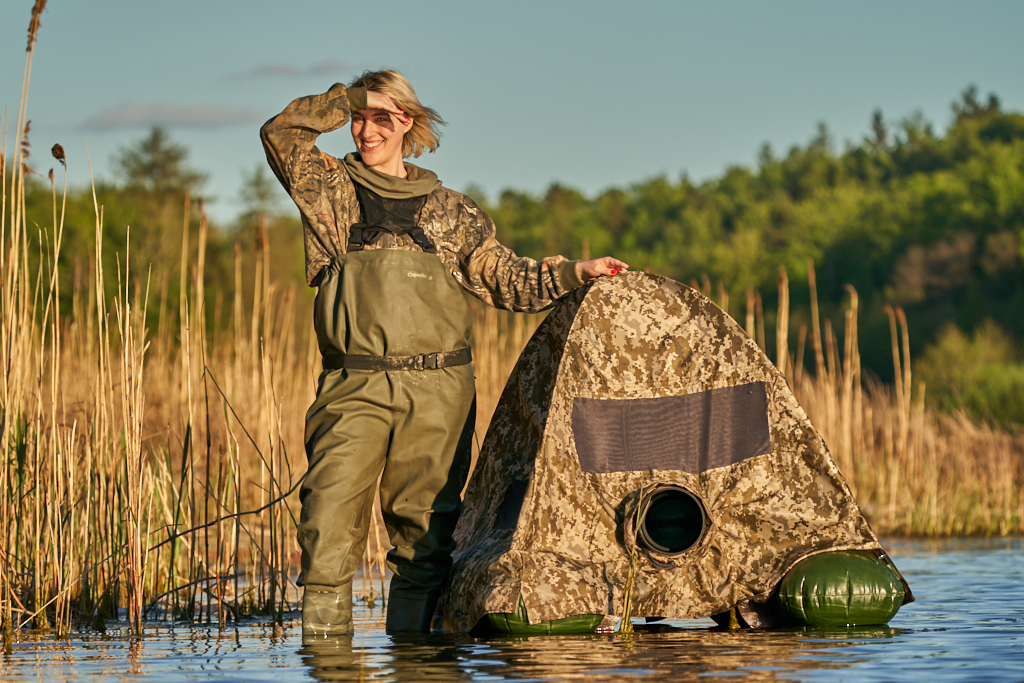
A floating hide makes for a perfect tool for shooting wildlife living around water. Not only waterfowl but also mammals such as deer, otters, beavers and many other. What makes it an extraordinary and versatile tool for creating exceptional images is its low perspective, mobility and small dimensions. First of all, a proper camouflage and its rather small size does not scare animals as much as a bigger kayak or boat. Not only you’re getting close, but more importantly intimate with your subjects. In my view this is magic. Secondly in 99% of cases you are forced to move around shallow waters, thus around the shore and the hide blends into environment pretty well. Shooting from a floating blind is limited to shallow waters and you have to stand on your feet. But a well-made hide has enough volume to keep you afloat in deep water and if you’re wiling to risk, you may swim for a short distance to a new not so deep location. Being limited to photographing in shallows has it perks too: mainly stability. A kayak or boat might drift away while you’re trying to position yourself for that perfect frame. Standing firmly on the ground solves this issue.

DIY floating hide
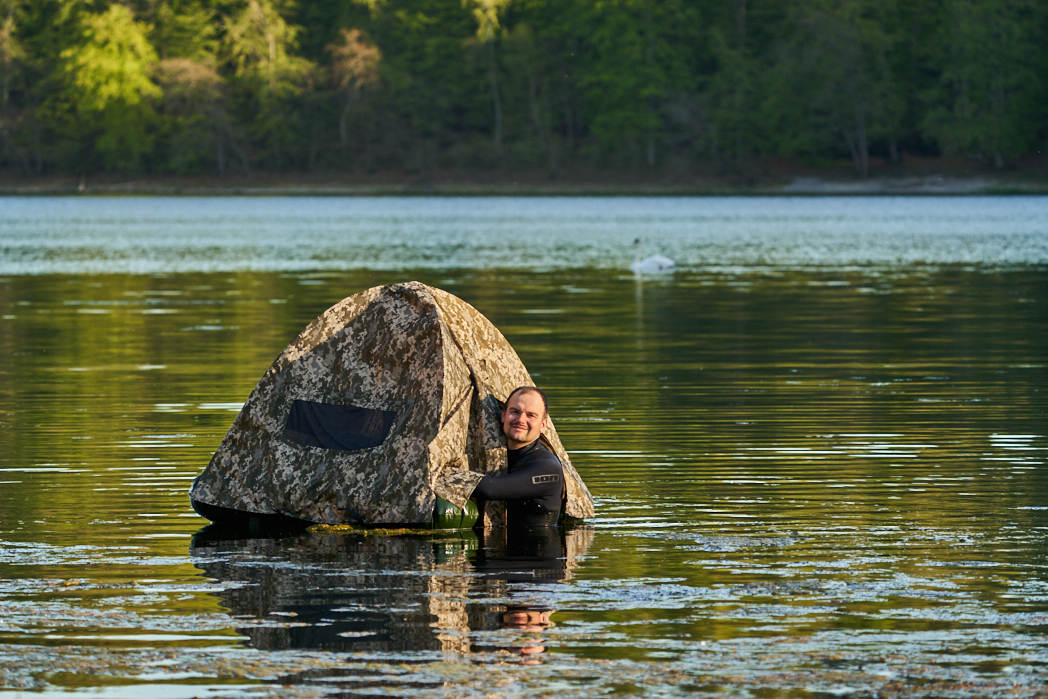
Wanda in waders. When you know water very well waders will be sufficient

Alright, a floating hide has no drawbacks and it is awesome … not exactly. Depending on the construction you own carrying a blind might be troublesome. On the other hand, any light floating hide is prone to sinking due to punctures. Take that risk into consideration. Staying warm in cold waters while not moving much is another topic. Oh, and keeping your precious camera gear dry too… 

DIY floating hide
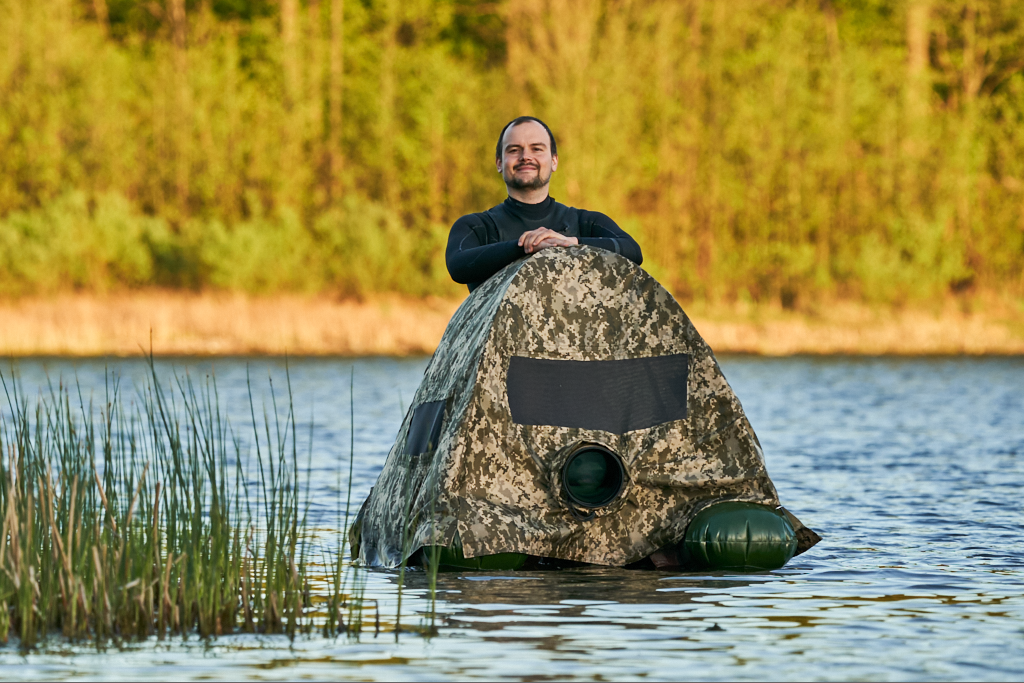
Michal and his latest DIY floating hide.

There are many aspects to consider. This guide consists of our findings, and hypotheses we decided to verify. If you follow our logic, you might find this advice useful or you might even evade some risks. Either way we hope you find it informative.

Commercially available hides

Michal is an engineer and likes constructing things and to be honest he’s pretty good at it. Doing stuff yourself gives tremendous satisfaction but in the long run it might turn a budget friendly project into a sinkhole. Sometimes buying a floating hide might even be a cheaper solution than making one yourself. Especially if you plan to have more than one takes on it. Ok, our first project was quite successful and budget friendly. On the other hand, it was not final.

Below you will find several floating blinds we have found on the market. If you do not want to spend time tinkering in your shed buying one of these will be your best bet for waterfowl photography. These products are mostly made by photographers for photographers and have been tested in action. If you buy one you also do not risk losing money if you decide to stop your project halfway. Selling a commercial floating hide on second hand market is also way easier than selling one made yourself.

Buteo

The 'Grebe’ hide is made by the company named Buteo Photo Gear®. It is an inflatable type floating hide. You will find a link to their website below.

Grebe floating hide by Buteo Photo Gear®.

We actually own an Aquila Mark II hide made by Buteo and we really find it worth the spend.  

Tragopan

Tragopan floating hide is a solid one, made of stiff plastic. It seems to be quite durable. You will find a link to their website just below.

Floating hide by Tragopan.

We do not own any equipment made by Tragopan but know several friends who do, and are all fond of their gear.

We also think that this is the very same hide as the 'floating hide’, but I might be wrong. Check their website below.

The floating hide.

Jan gear

’Floating hide II combo’ is a hide made by a company called Mr Jan Gear. It is a light and inflatable solution. It actually was an inspiration to our DIY hide current design. It appears to be super portable. You will find a link to their website below.

’Floating hide II combo’ by Mr Jan Gear.

Huga Nature

We know a floating hide is currently in the making by a company called Huga Nature. It is a polish brand owned and run by Hubert Gajda. You will find a link to his website below.

Huga Nature – Hubert Gajda.

We own three lens covers and a groundpod manufactured by Huga Nature. All of the items are well made and we think the covers are as good as lens covers get. However, the groundpod is in a league of its own, a brilliant and solid piece of equipment! We fully recommend to go check it out!

Do-It-Yourself floating hides overview

Alright, let’s start with the most interesting part of this article. When I wanted to up my game with photography a floating hide came to my mind. I started the search and found just a few guides. Actually, very few proper texts describing how a float hide is made. Thus, here comes my instruction. If you like to tinker here we go!


There are three major types of DIY float hides:

  • Made of PVC pipes
  • Made of XPS or extruded polystyrene
  • Inflatable floating hide

Crucial aspects I would take into consideration when deciding which DIY floating hide project to do are:

  • How am I going to transport my hide? Is it going to be by car, train, boat or plane?
    • Once on site how will I carry it around. Will it be on foot, bike or with a small trolley. Or can I leave it on site for a long period of time?
    • Where would it be stored?
    • How much weight do I want/am able to carry?
  • Complexity of the design
    • What tools do I own and can use? Both in terms of workshop and software skills (yeah, you sometimes need that too)
    • Manufacturing tolerances. Some details have to be made precise while other do not require almost any tolerances at all. The higher the tolerances the sloppier you can be, and the easier the design is. A good design does not force you to be precise. However, sometimes aesthetics suffer.
DIY floating hide
Michal, you are looking in the wrong direction! Keep focus buddy!
  • Size, volume and shooting angle
    • What volume do you need? A lower volume hide is easier to move around but it does not eliminate several risk factors such as drowning yourself or wetting the equipment.
    • A larger hide might be more comfortable, stable and holds a lot more weight. Heck you could even float on it without touching water – if anchored, but that just makes your project blow out of proportion. I like to keep things simple.
    • A larger and floatier hide usually means a higher shooting angle as well, which is something most wildlife photographers try to avoid. So, the decision needs to be wise and well balanced between what you want and can accept.
DIY floating hide
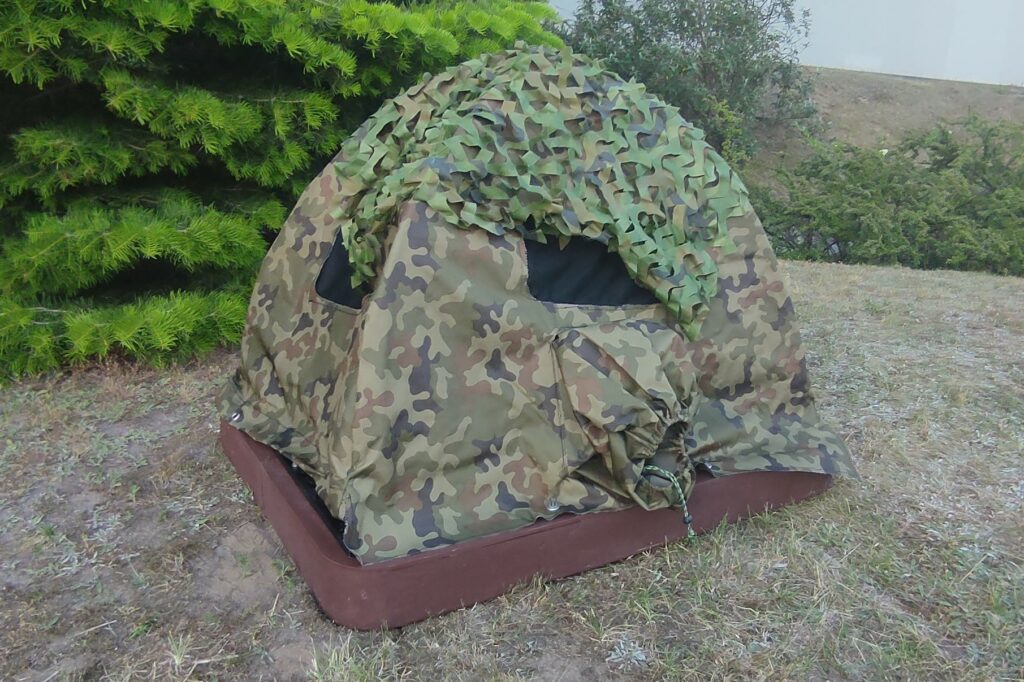
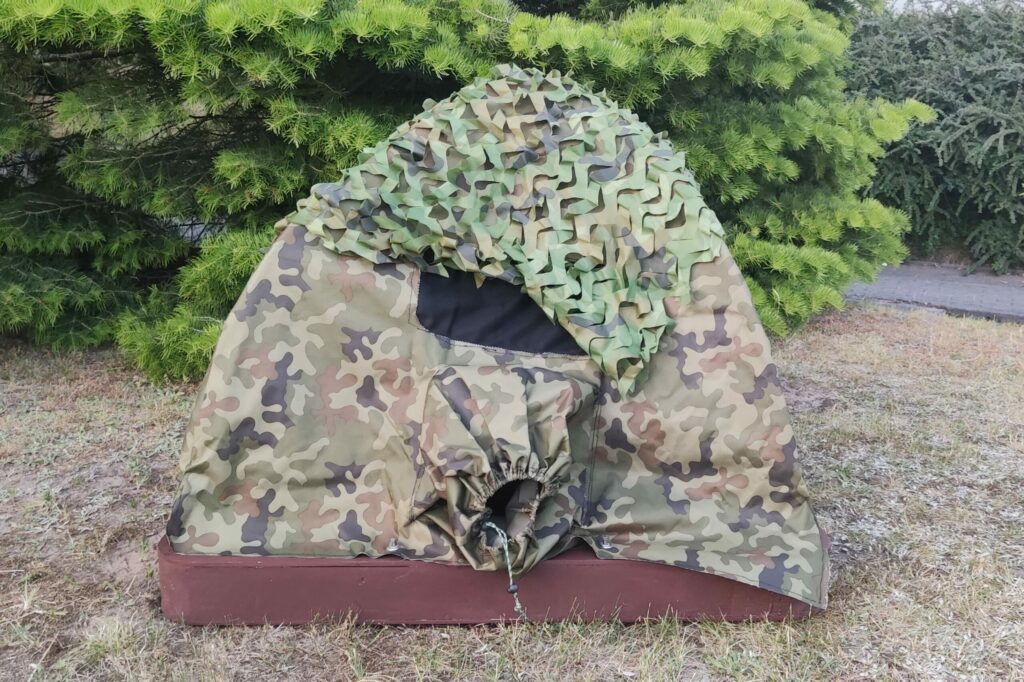
Simple camouflage was so far successful. But we're planning to add a net and reed holders to get some texture and better blend in..
  •  Camouflage
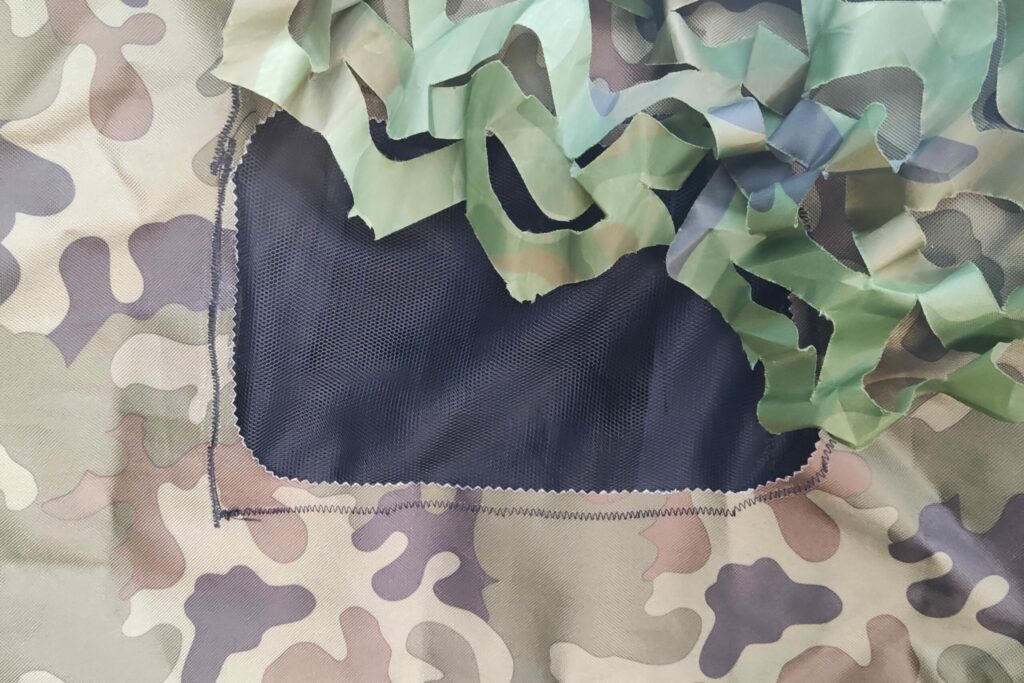
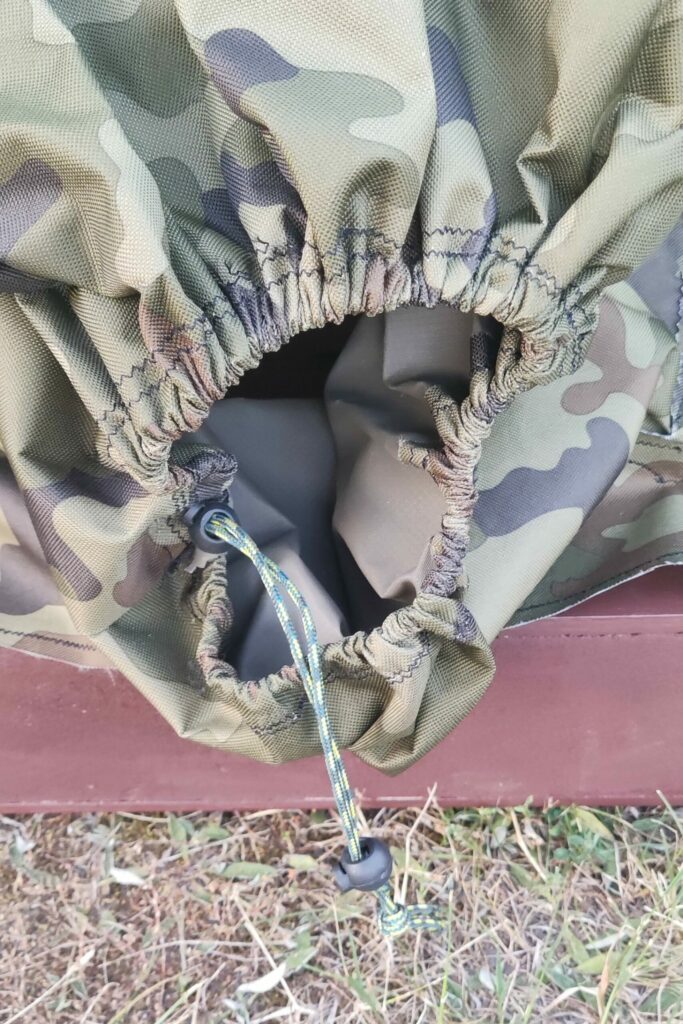
    • Usually, every floating hide consists of a tent mounted atop of floats. You could get a cheap tent from eBay, allegro or other second-hand market and modify it to serve as a photo hide. The only problem are dimensions and having to adjust hide’s platform size to tent’s dimensions or vice versa. I sewed my tents myself. It was not an easy task for me but my tents were precisely adjusted to the floating platform they were mounted on.
    • Another approach is to use a camo net. Simple, easy but it might get in your way while shooting. Unless you find a good way of fixing it to the float. I have not tried it but it might fit really well for smaller designs.
    • Natural camouflage is usually fastened to tents. I would consider using rubber loops sewn to the tent. I have not added them to my first design but might include them in the future. 

Floating hide made of PVC pipes

A floating hide made of PVC pipes has several pros. First of all, you will find necessary components in nearly every hardware store. They are quite cheap as well. In terms of complexity of the design I would consider it pretty simple and straightforward.

Things to consider:

  • Volume
    • If you want the floating hide to hold you on the water without touching the ground you might need a more complex design. A meter of 150mm diameter pipe has an approximate volume of 17,5 litres. That’s not a lot. You would probably need two 1m long pipe section on each side connected into one piece with bended pipes.
  • Portability and reliability
    • Floating hides made of PVC pipes are not the most portable ones when it comes to carrying them from car to the spot. If you want a portable PVC floating hide which is easier to transport you have to be able to disassemble it. Unless you have a really large trunk! In theory the gaskets in PVC plumbing holds up to 0,5 Bar which is plenty enough of pressure but it leads us to another topic – reliability.
    • If you really want the PVC floating hide to be safe you might want to fill it with something that … floats, yeah. This gets in way with portability. So, it could be a polyurethane foam, empty plastic bottles or other similar stuff. The downside is of course higher weight. If I were to make a PVC hide, I would glue the pipes together and install a valve for water removal. If it would leak at all. Luckily it turns out that water permeability through small crevices is not that great compared to other liquids. Hurray for polarity and hydrogen bonds!
  • Fastening the platform
    • With a PVC hide it is pretty simple. Be it fastening belts or cable ties. You could even use dedicated pipe wall holders mounted to a flat surface (your platform). The platform itself can be made of anything stiff and flat. I chose a plywood in my other designs. But a light composite would also be great. Thicker platforms make fastening other accessories, such as tent holders, cup holders (hey, a hot mug of coffee is invaluable) and most importantly the camera head – be it gimbal, uniqball, ballhead etc. easier.

I have not decided to make a PVC hide myself. For a few reasons. First of all, I went for XPS hide first due to the reliability and portability issues. An XPS and plywood composite will not take water at all. Furthermore, I did not want to fill my PVC piping with foam due to weight. A plywood and XPS composite can be folded or disassembled for transport easily. However, XPS hide is a more complex design than a PVC one. I would probably go for a PVC one if I had my hide on site all the time and wanted a medium sized hide. When I did a BOM the XPS hide seemed to be a bit cheaper too. 

Floating hide made of XPS

This is the design I went for my first floating hide. XPS material has almost no water intake. It is light and quite durable. Of course making a dent in it is quite easy. So some sort of outer lining is a must. I have decided for a 9mm plywood on a top and 6mm on the bottom, which is a bit of an overkill.

DIY floating hide
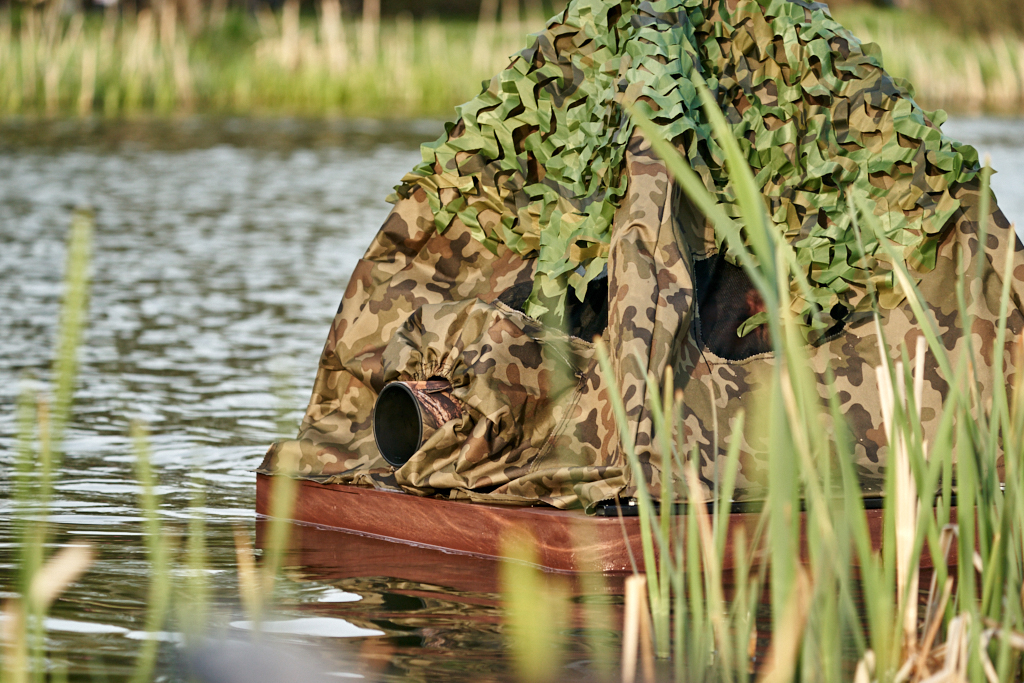
An XPS floating hide in the field.

Things to consider:

  • Volume and shape
    • XPS hides are quite bulky. But they also provide a great volume compared to using PVC pipes and other solutions. They can also be made flat with low shooting angle. Increasing volume comes with either increasing surface and making the hide harder to transport or increasing its height which usually means increasing shooting angle at the same time.
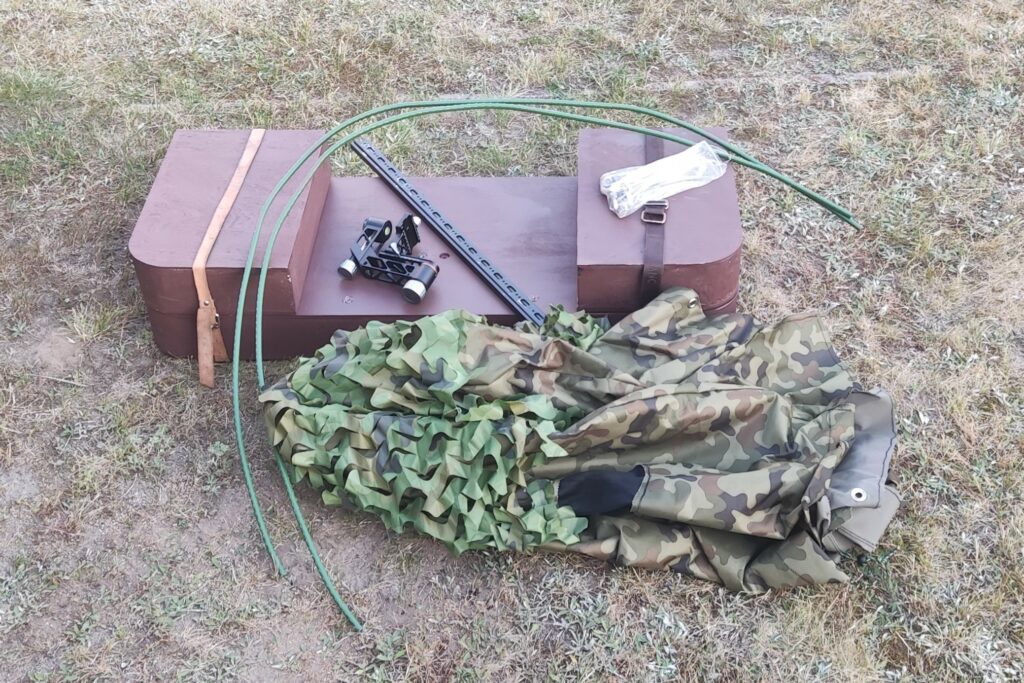
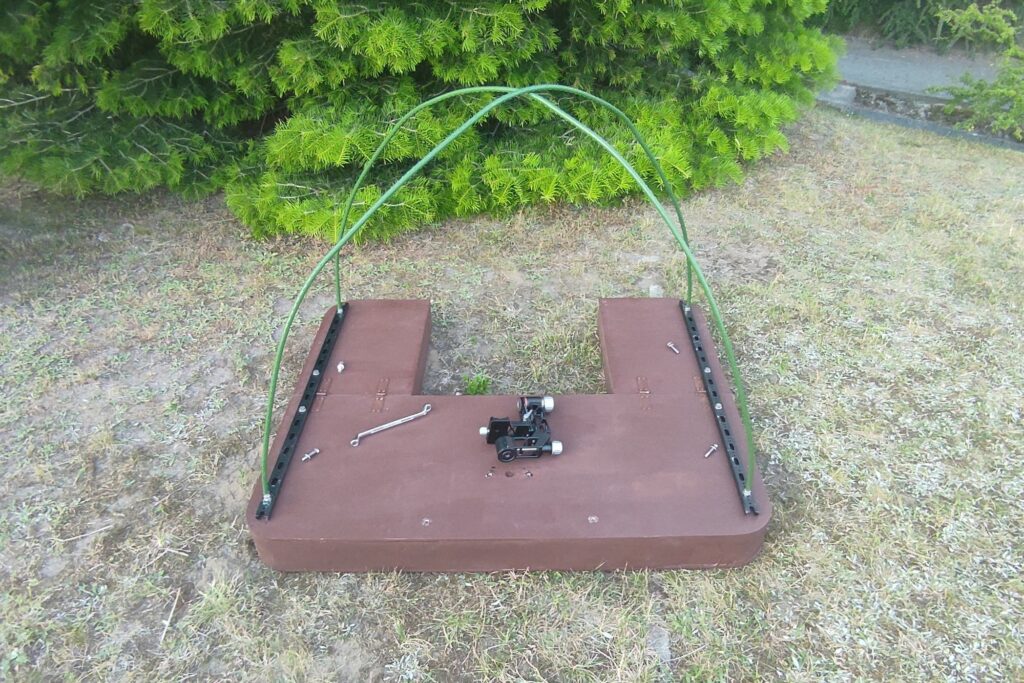
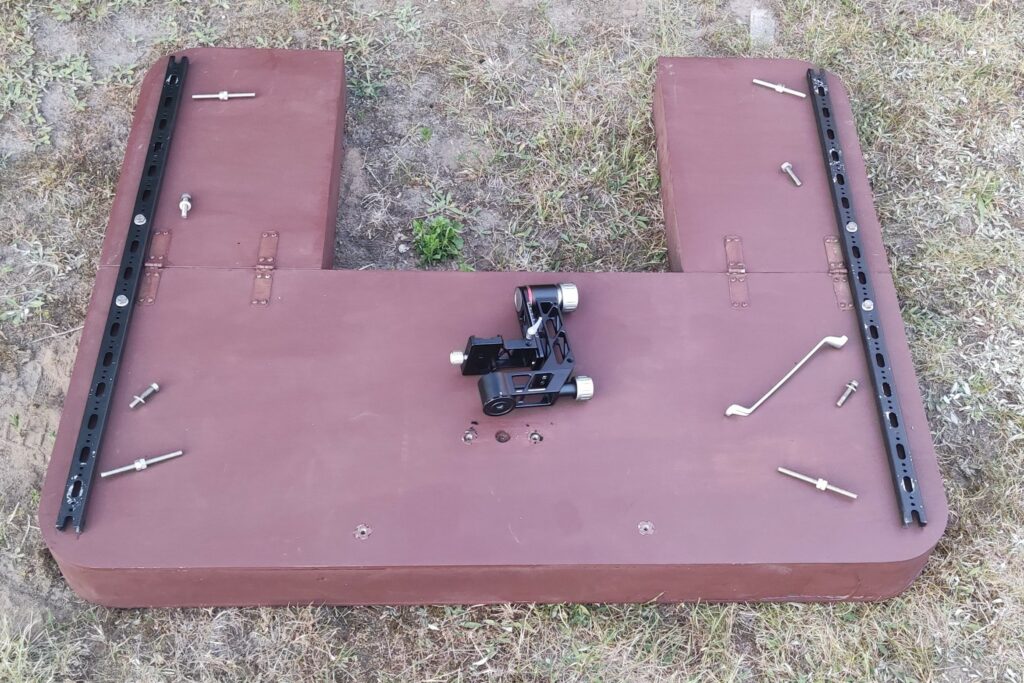
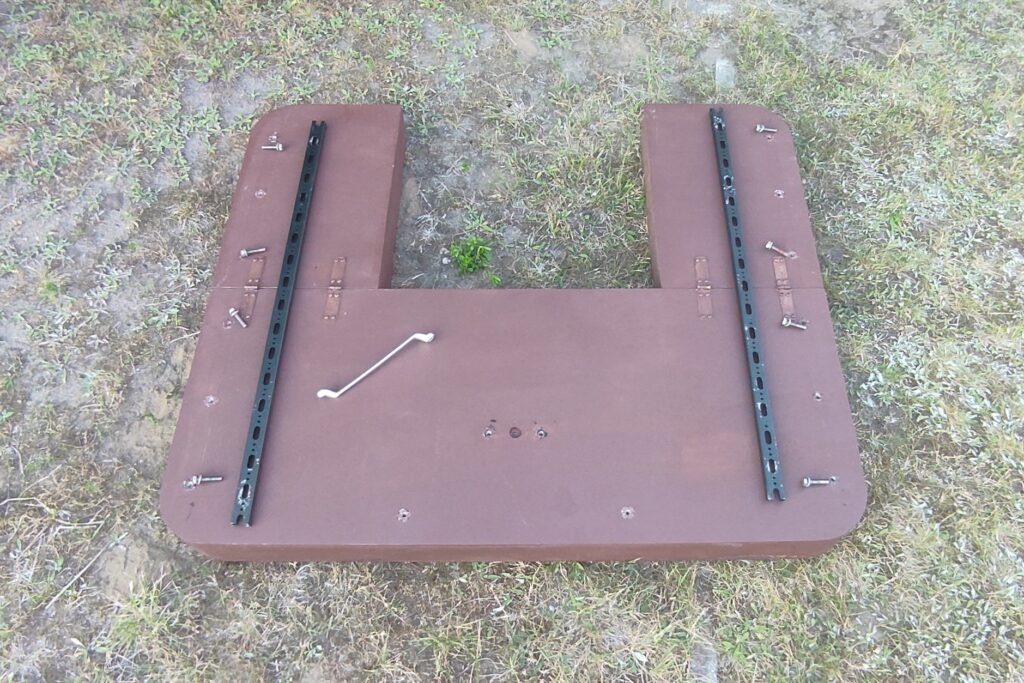
    • Shape of course determines the volume. I have thought of several shapes myself. Starting from one found often on the web – a kayak/canoe alike shape with a hole in the centre. It must have a great volume and pretty low shooting angle. But it is hard to get out of in case of an emergency. I decided to make a U like shape, with round corners. It was also quite easy to make due to the fact that I could buy plywood and XPS in similar rectangular shapes, about 120 cm long and 50 cm wide. The whole floating hide can be transported in one piece and it is also foldable taking less space in a car. If you want a smaller hide, just to keep your camera afloat an XPS construction seems like a good choice to me too
  • Portability and reliability
    • If you make a cladding of your XPS piece it will be quite tough. Furthermore, if there are any dents, who cares! It will still have plenty of volume left. It can’t be punctured and it will not sink. Seems to be the safest hide to me! Just one solid, tough piece of floating construction.
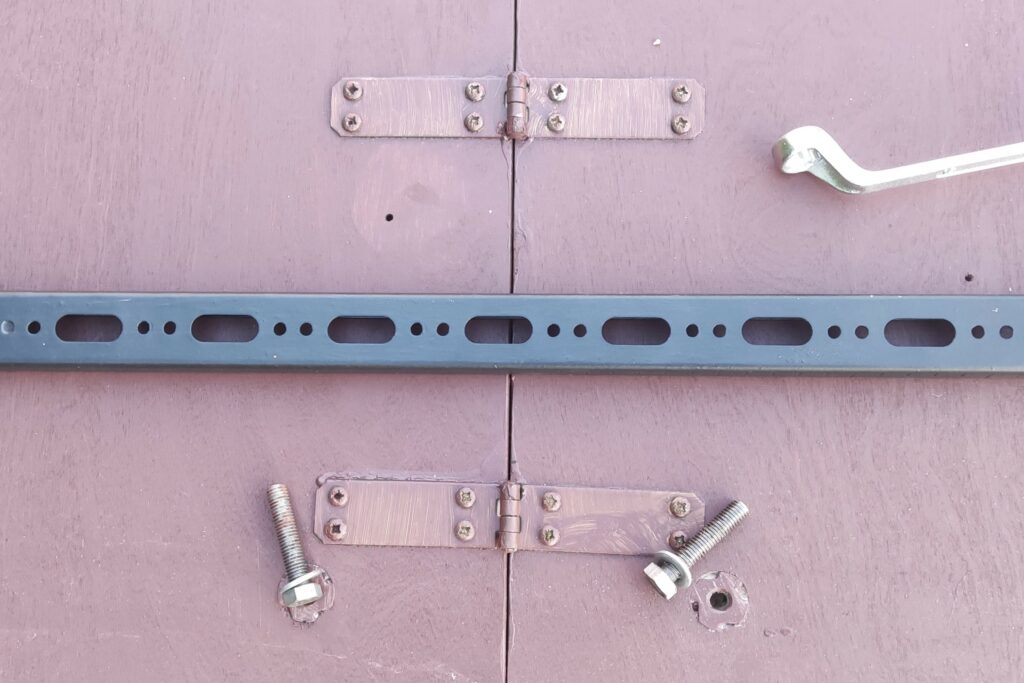
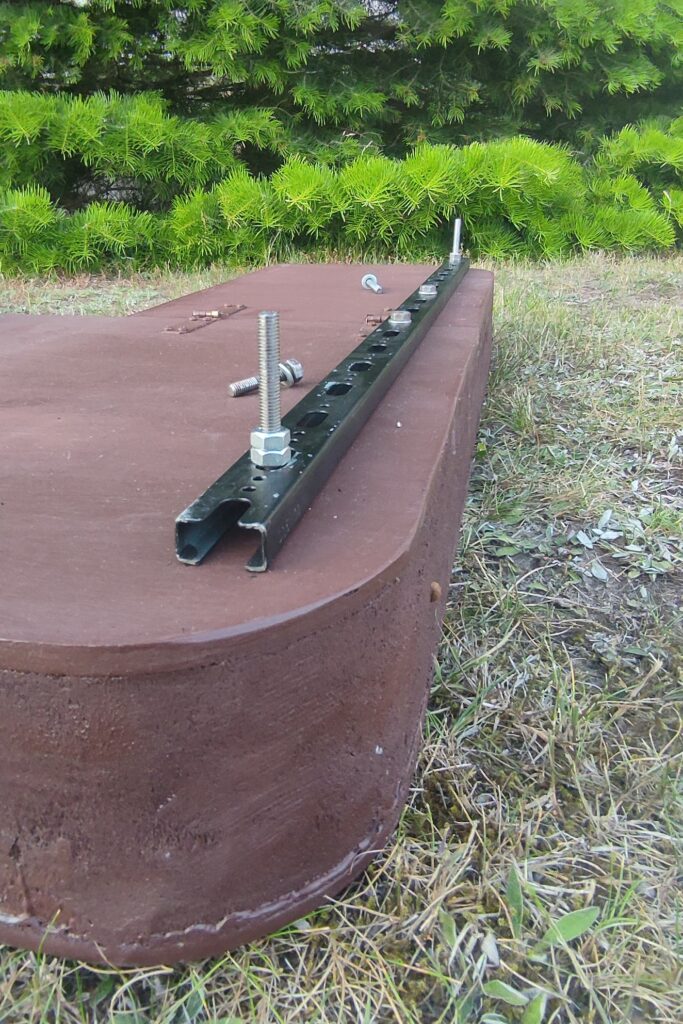
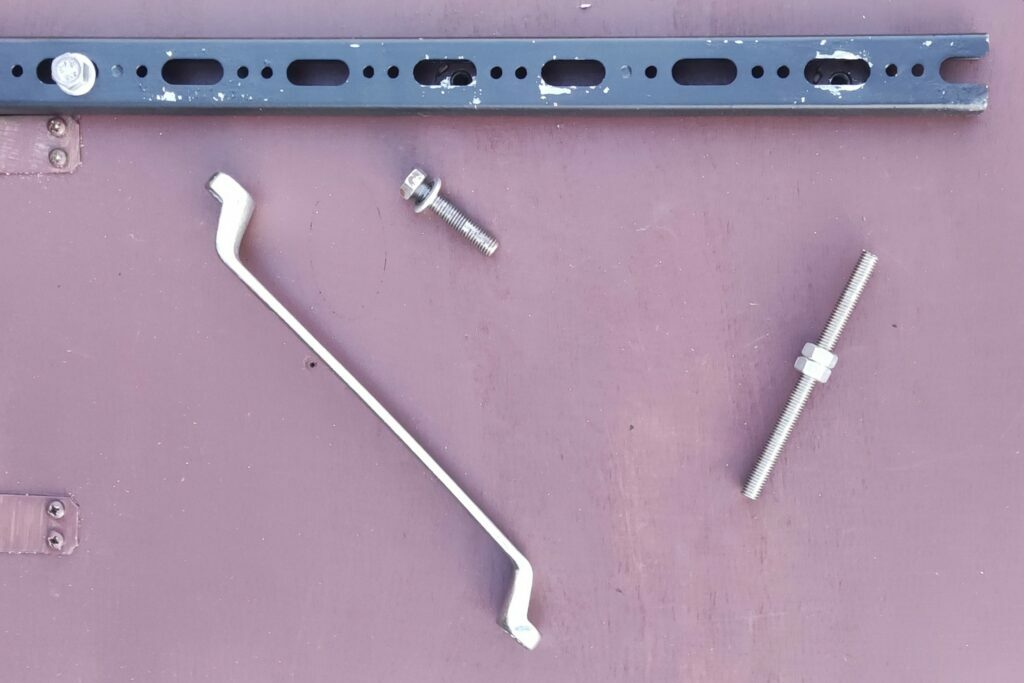
    • Transporting such a hide is a different story though. It takes quite a lot of space in any trunk and on site you won’t carry it far away from your parking spot. And that is a huge price you have to pay. For easier carrying the XPS hide can be made out of pieces which can be tied together with something stiff, for instance a metal channel bar. If you go for a butterfly screw you will not have to carry any tool with you! Thus, fitting an XPS hide into a small trunk might be possible if you make your design rightly. A small trolley could be a valuable accessory.
  • Fastening the platform
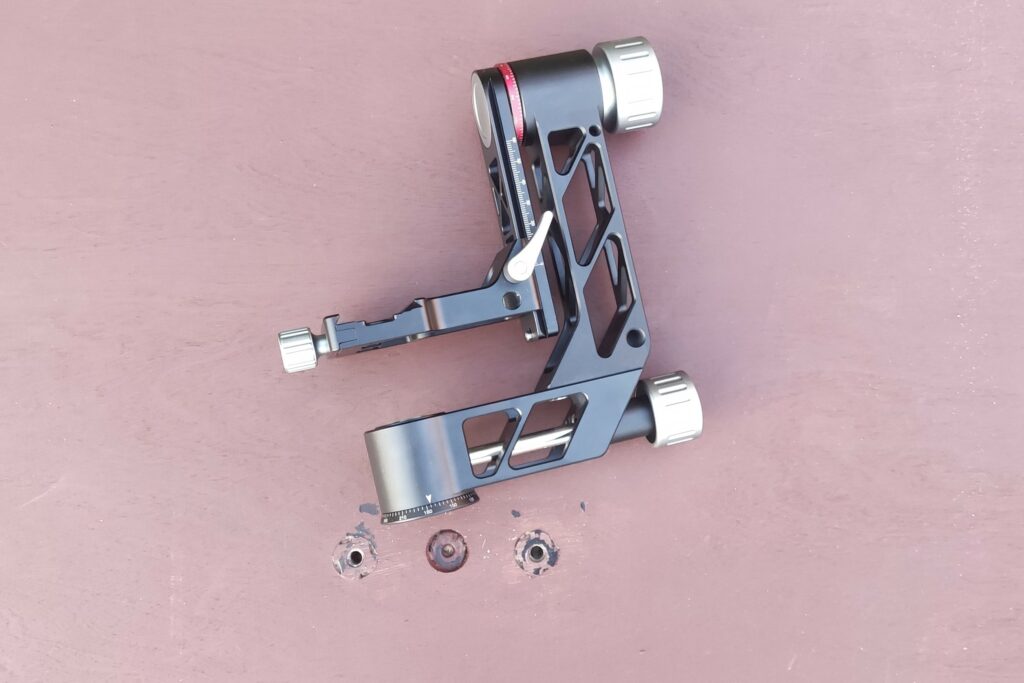
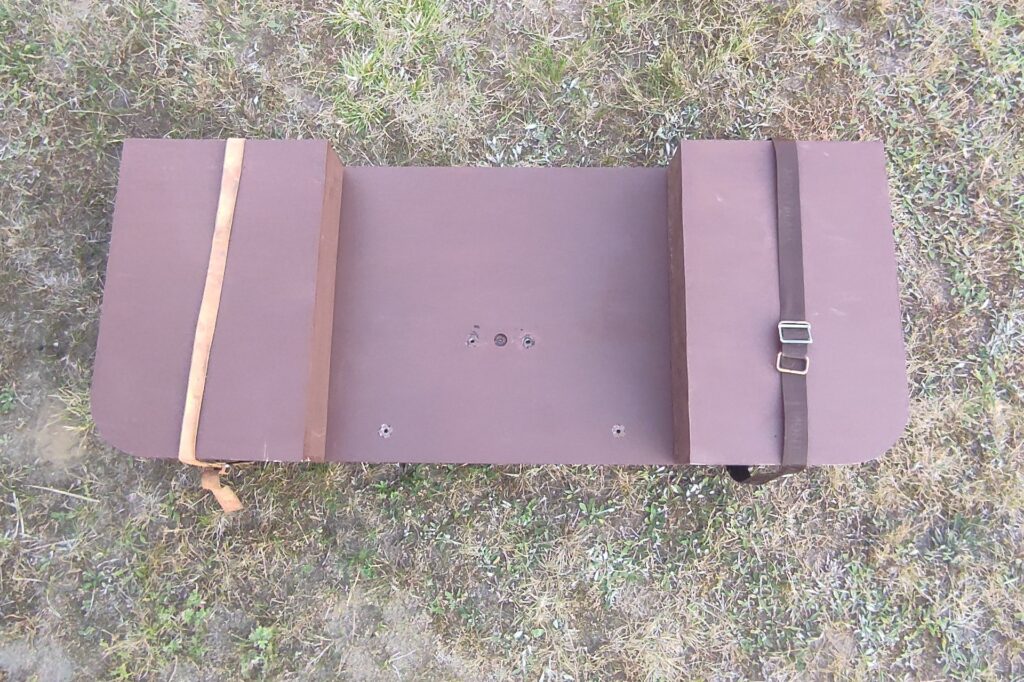
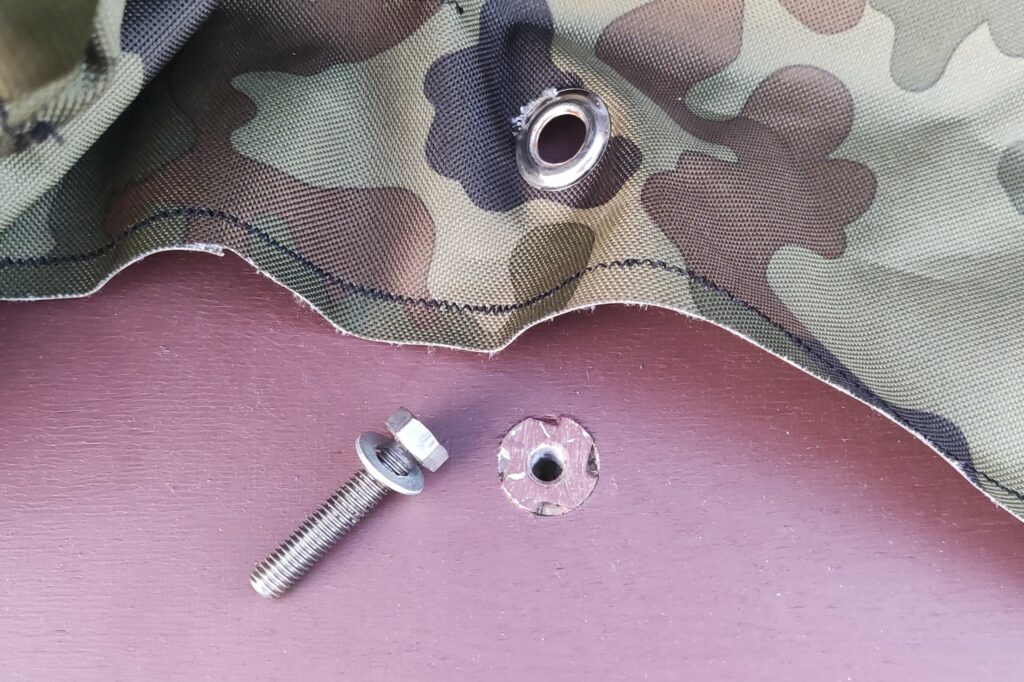
    • The platform is a part of the construction so this issue solves pretty much by itself. My hide utilizes t-nuts and a metal perforated plate with a welded 3/8” screw. The plate is screwed to the t-nuts which are installed in the wooden cladding. Simple, elegant and secure.
    • T-nuts were also used to secure the tent to the construction. I could think of other options such as painting frame wall holders or metal rings fastened by thin nailed metal straps.

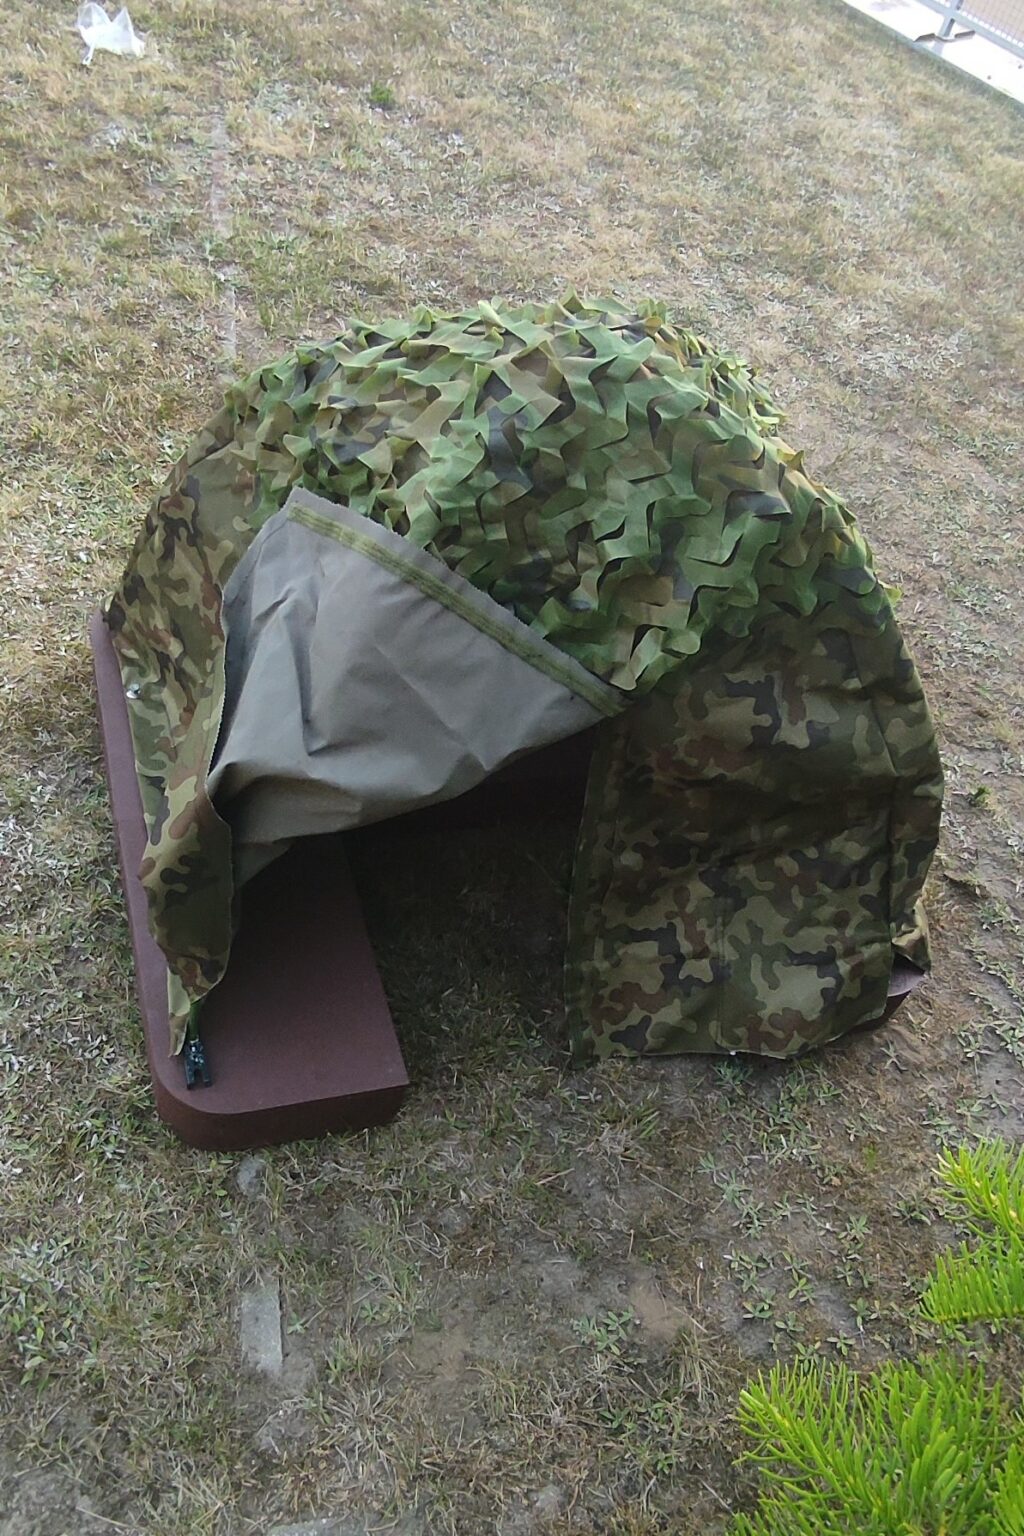
I actually made this type of a floating hide myself. Due to the 'safety first’ approach, it was the first design I went for. The total cost was around 125$ plus my working hours. And I mean lots of working hours.. 10cm thick XPS insulation piece was used. Wood was glued to it at both top and bottom sides. The whole construction consisted of three pieces. The main one to which the gimbal was mounted and two smaller pieces between which the photographer can stand. The whole construction forms a U shape. Two side pieces were fastened to the main piece with hinges. It greatly increased portability and compactness of the hide during traveling. I used two metal perforated C-beams which were secured with bolts to the main piece and each of the smaller side pieces in order to make the construction stiff. It also prevented it from opening and closing on small waves or choppy water. Two garden poles bent to form the C shape were used as a tent frame. The tent itself was then secured to the float with bolts and t-nuts. The platform was painted brown. Be careful with the paint you choose and be sure it is a water-based paint. If the paint contains an organic solvent, it might melt down the XPS, not mentioning environmental aspects. All in all, it was an easy  yet sturdy construction.

The tent was made of 360 g/m2 codura material. For sure it was waterproof and tough,